 Save
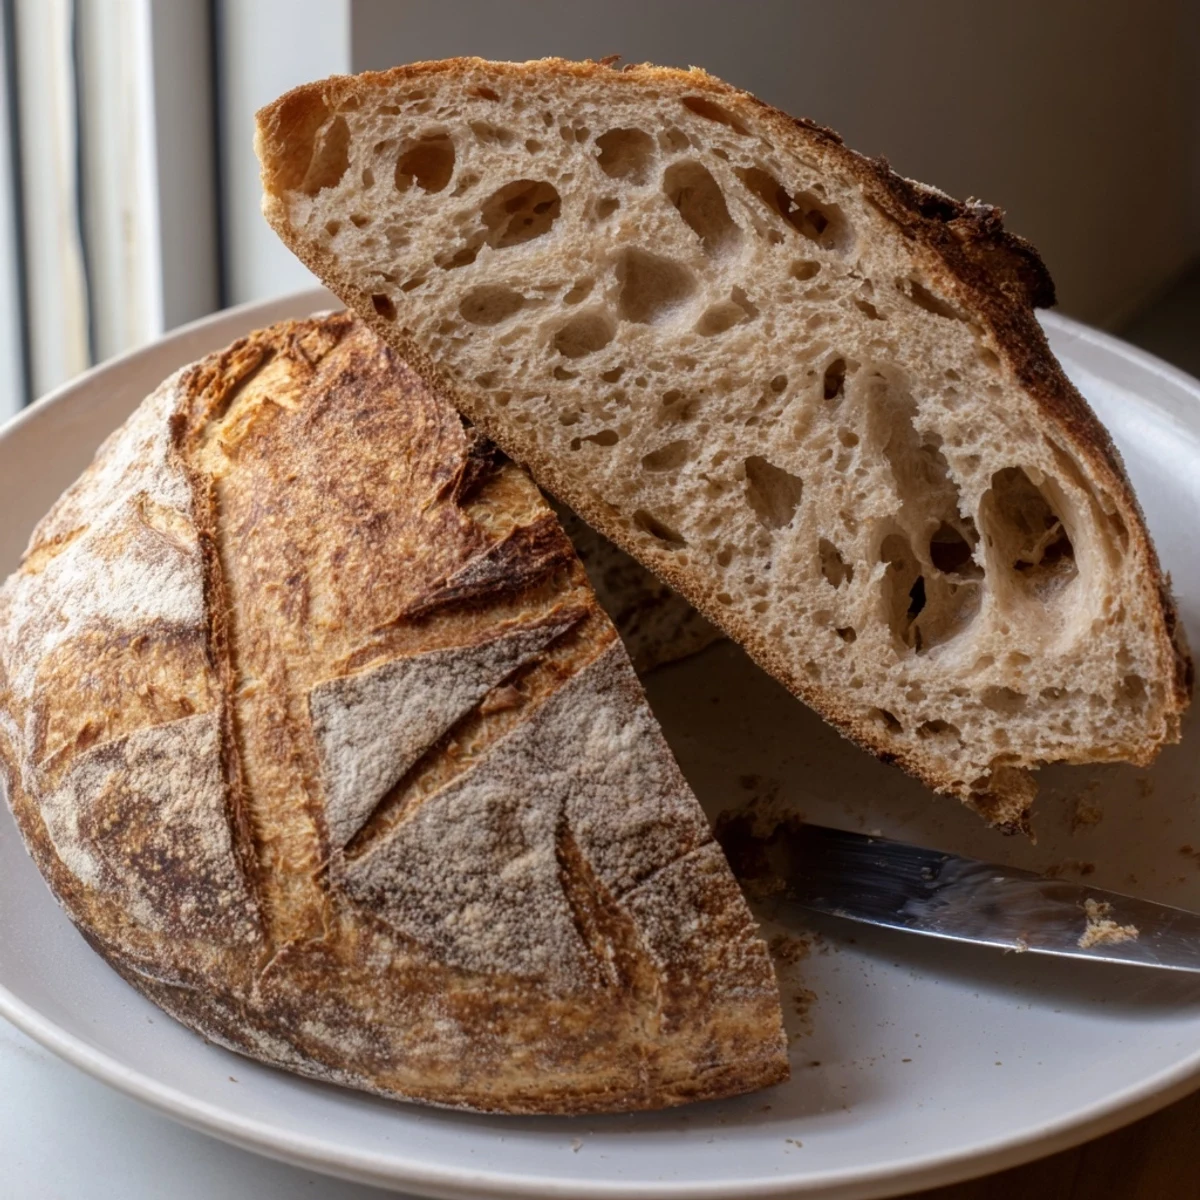
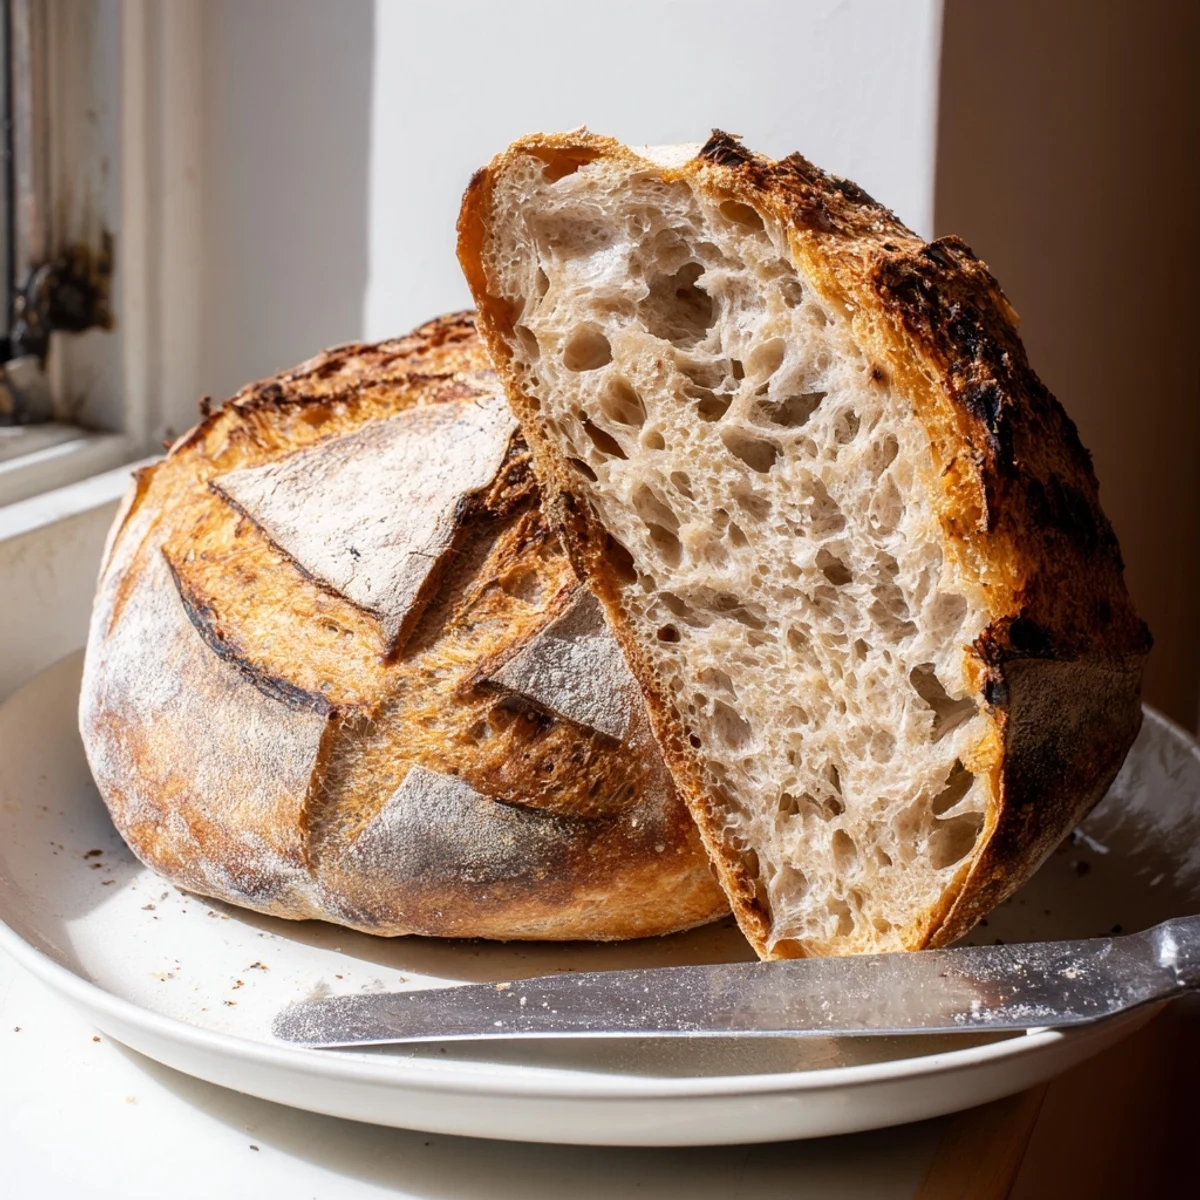
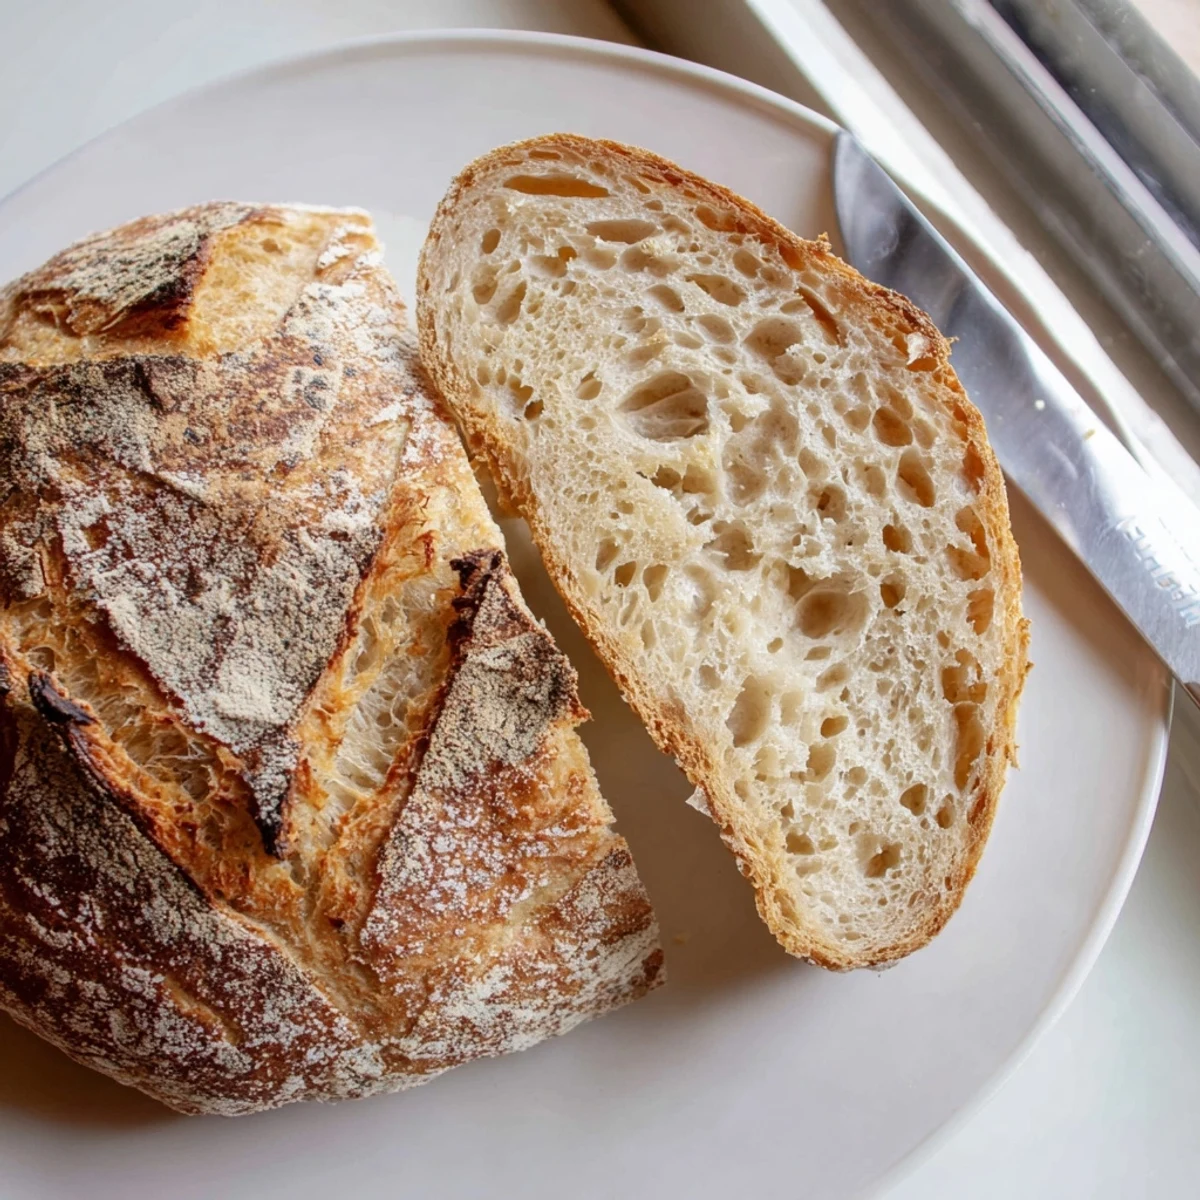
Save Craft an exceptional traditional loaf using wild yeast fermentation developed over generations. This time-honored technique produces a beautifully caramelized exterior with an open, airy crumb structure. The natural fermentation process develops complex tangy notes while making nutrients more bioavailable.
Perfect for beginners and experienced bakers alike, the straightforward stretch-and-fold method builds strength without intensive kneading. The overnight cold fermentation option enhances flavor development and creates that distinctive sour profile enthusiasts love.
Baking in a preheated Dutch oven creates professional-grade steam for maximum oven spring and crackling crust. Slice thick for toast, sandwiches, or simply enjoy with cultured butter and sea salt.
The smell of sourdough baking at 6 AM has become my favorite alarm clock. I started this journey after watching my grandmother wrestle with a starter that was older than me, her hands moving with instinct I couldn't grasp then. Now my own starter lives in a glass jar on the counter, bubbling away like a pet I've somehow kept alive through three moves and one very cold winter. That first successful loaf, when the crust actually crackled and the crumb had those perfect airy holes, felt like joining some ancient secret society.
Last winter my partner came down with a terrible flu, and I spent three days nursing a batch of dough through the longest, coldest bulk fermentation of my life. The house was freezing, so I set the bowl near the radiator with a towel over it, checking it every hour like a worried parent. That bread, slightly more sour than usual from the slow fermentation, was the only thing they could eat for days. Now every time I make it, I remember how something so simple felt like the most nourishing gift I could give.
Ingredients
- 100 g active sourdough starter: Feed it 4-8 hours before baking until it's doubled in volume and passes the float test
- 375 g bread flour: High protein content is crucial for that satisfying chew and structure
- 25 g whole wheat flour: Adds depth and nuttiness without overwhelming the delicate sour flavor
- 275 g room temperature water: Warm water speeds fermentation too much, cold water gives you more control
- 10 g sea salt: Don't be tempted to reduce this, salt controls fermentation and develops flavor
Instructions
- Autolyse for better texture:
- Mix flours and water in a large bowl until just combined and shaggy, then cover and walk away for an hour
- Incorporate starter and salt:
- Add starter and salt to dough, mixing by hand with a pinching motion until fully distributed and smooth
- Bulk fermentation with folds:
- Let dough rest covered for 30 minutes, then perform a stretch and fold by pulling one edge up and over, rotating the bowl four times
- Pre-shape gently:
- Turn dough onto lightly floured surface and shape into a loose round, letting it rest covered for 20 minutes to relax the gluten
- Final shape with tension:
- Create surface tension by folding edges toward center, then flip and shape into a tight round before placing seam side up in floured proofing basket
- Proof until ready:
- Let rise at room temperature for 2-3 hours until dough springs back slowly when poked, or refrigerate overnight for deeper flavor
- Preheat your Dutch oven:
- Place your heavy pot with lid in oven and heat to 250°C for at least 30 minutes so it's screaming hot
- Score and bake covered:
- Invert dough onto parchment, score with a sharp blade, and bake covered for 20 minutes to trap steam and create oven spring
- Finish with golden crust:
- Remove lid, reduce temperature to 220°C, and bake 25 more minutes until deeply golden and crust sounds hollow when tapped
 Save
Save My friend Sarah cried the first time she successfully made sourdough after years of trying. She called me at midnight to describe the crackling sounds coming from her cooling loaf, this music she'd been chasing for months. That's the thing about sourdough, it teaches you patience and gives you back something miraculous in return.
Building Your Starter
I keep my starter in the back of the fridge, bringing it out weekly for a feed like a sleepy pet that needs waking. The key is consistency, feed it the same ratio of flour and water every time until you learn its personality. Some starters are fast and vigorous, others slow and steady, but they all tell you when they're hungry if you pay attention to the bubbles and smell.
The Secret of Steam
That Dutch oven trick is non-negotiable, it creates a mini steam oven that gives you that blistered artisan crust. I learned this the hard way after months of baking on sheet pans with sad, dull loaves. The trapped steam keeps the crust soft initially, allowing maximum rise before it sets into that shatteringly crisp exterior.
Timing Your Bakes
Mix your dough in the evening and let it do its thing overnight while you sleep. There's something magical about waking up to a bowl full of fermented dough, ready for shaping and baking with fresh coffee. Weekend mornings were made for this rhythm, but even a weeknight dinner becomes special when you've baked bread that same day.
- Set a phone reminder for your stretch and folds so you don't lose track of time
- Keep a spray bottle of water handy to mist your dough if it's drying out during shaping
- Invest in a good bread lame or razor blade, confident scoring makes all the difference
 Save
Save Every loaf teaches you something new, and the imperfect ones taste just as good with salted butter. Happy baking, and may your crusts always crackle.
Your Recipe Questions Answered
- → What makes sourdough different from regular bread?
-
Sourdough relies on wild yeast and beneficial bacteria naturally present in flour rather than commercial yeast. This slow fermentation process creates distinct tangy flavors, improves digestibility, and develops characteristic chewy texture with crisp crust that lasts longer than conventional loaves.
- → How do I know when my starter is active enough?
-
A healthy starter should be bubbly throughout, have doubled in volume 4-8 hours after feeding, and pass the float test—dropping a small spoonful into water should make it float. The consistency should resemble thick pancake batter with pleasant fermented aroma.
- → Can I shorten the fermentation time?
-
While technically possible by adding warmth, the extended fermentation is essential for developing flavor, texture, and digestibility. Rushing the process compromises the characteristic tangy taste and open crumb structure. Planning ahead yields superior results.
- → Why cold-proof overnight in the refrigerator?
-
Refrigeration slows fermentation while allowing flavor compounds to develop fully. This longer proofing enhances the signature sour profile, makes handling easier due to firmer dough, and fits conveniently into busy schedules by breaking up the process over two days.
- → What if I don't have a Dutch oven?
-
A heavy cast iron pot, ceramic casserole with lid, or even a stainless steel bowl with aluminum foil cover can work. The key is creating a steamy enclosed environment for the first 20 minutes. Alternatively, bake on a stone with ice cubes in a hot pan below.
- → How should I store finished loaves?
-
Wrap completely cooled bread in a cotton cloth or paper bag, then store cut side down on a wooden board. Avoid plastic which makes crust soft. For longer storage beyond 3 days, slice and freeze in airtight bags, reheating individual portions in the oven.