 Save
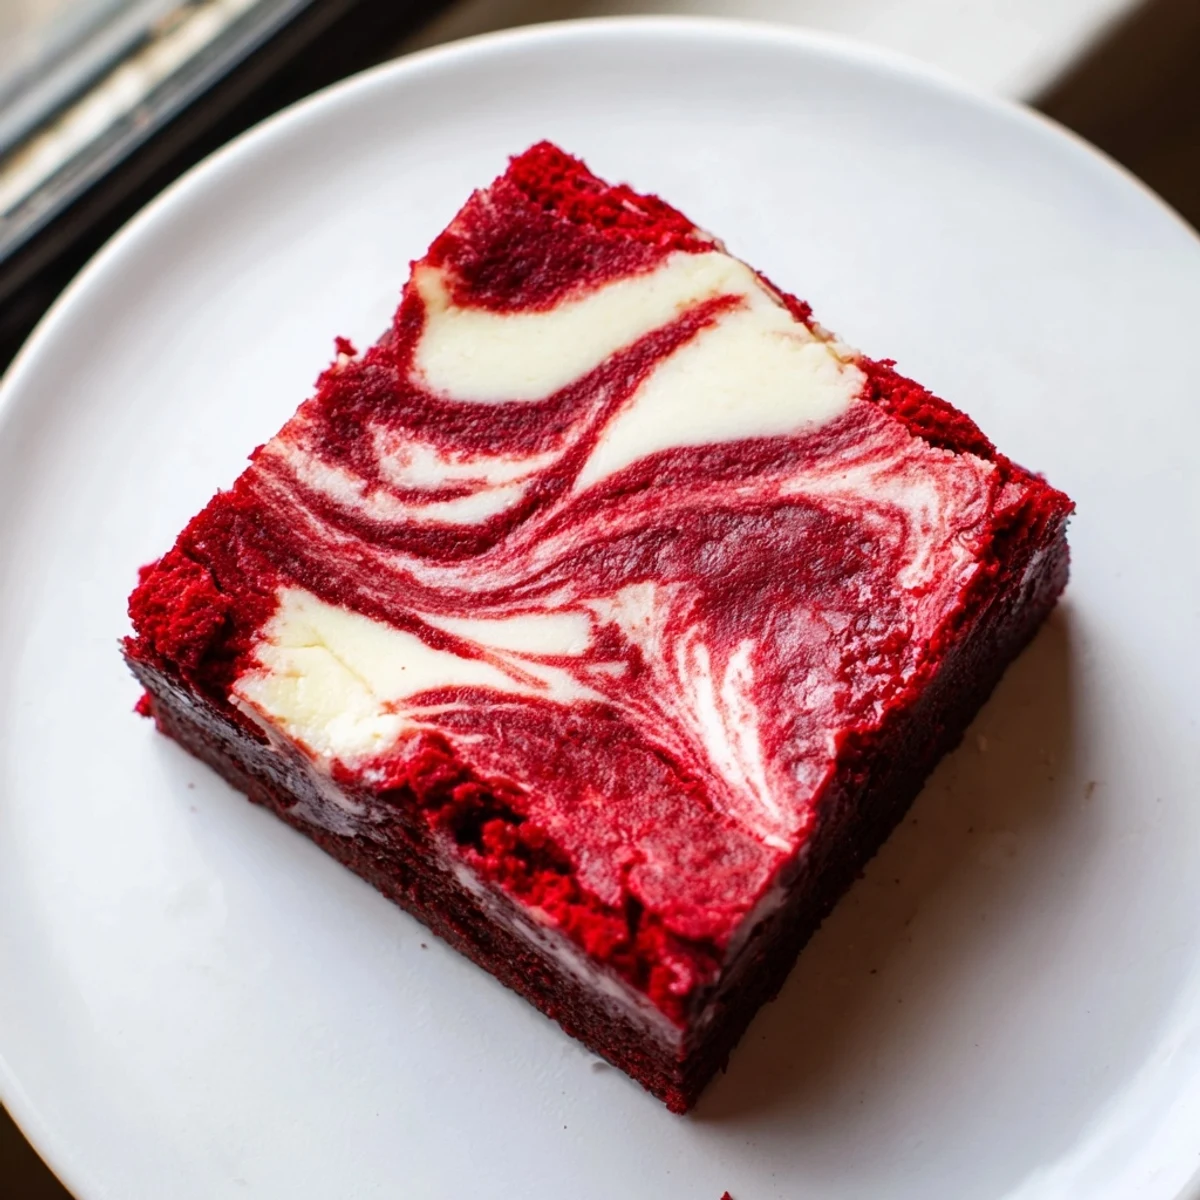
Save These red velvet brownies combine a fudgy, cocoa-rich base with a smooth cheesecake swirl for a deliciously moist dessert. The batter is gently folded and layered to create a beautiful marbled effect, using melted butter, cocoa, and a touch of vinegar for depth. Cream cheese, sugar, and vanilla form the creamy topping that contrasts the dense brownie, all baked to perfection in under an hour. Ideal for those seeking a balance of rich chocolate and creamy textures with a subtle tang.
The kitchen was already warm from the oven when my sister asked what I was making for her birthday dinner. I had nothing prepared but somehow these red velvet brownies with cheesecake swirl came together in under an hour. She took one bite and declared them better than any bakery cake she had ever tasted. Now they are the most requested dessert for every family gathering.
Last Christmas Eve I made three batches because we ate the first one straight from the pan while still warm. The contrast between the rich chocolate red velvet and the cool creamy cheesecake filling somehow tastes even better the next day. My grandmother asked for the recipe before she even finished her first square.
Ingredients
- Unsalted butter: Melted creates that dense fudgy texture that makes these brownies irresistible
- Granulated and brown sugar: The combination gives both sweetness and a slight chew to the crumb
- Red food coloring: Gel coloring gives the most vibrant red without affecting the texture
- All-purpose flour: Too much flour makes brownies cakey so measure carefully for the perfect fudgy consistency
- Unsweetened cocoa powder: Use Dutch processed for a deeper red color and richer chocolate flavor
- Cream cheese: Must be completely softened or your swirl will have lumps that ruin the marble pattern
- Egg yolk: Using only the yolk in the cheesecake layer makes it extra rich and creamy
- White vinegar: Enhances the red color and reacts with baking soda for a tender crumb
Instructions
- Prepare your pan:
- Line your baking pan with parchment paper letting the edges hang over so you can lift the brownies out easily later.
- Mix the brownie batter:
- Whisk the melted butter and both sugars until smooth then add the eggs food coloring vanilla and vinegar.
- Add dry ingredients:
- Sift the flour cocoa powder and salt into the wet ingredients and fold gently until just combined.
- Prepare the cheesecake swirl:
- Beat the softened cream cheese with sugar egg yolk and vanilla until completely smooth with no lumps remaining.
- Create the marble effect:
- Spread most of the brownie batter in the pan then drop spoonfuls of cheesecake and remaining brownie batter on top. Swirl gently with a knife being careful not to overmix.
- Bake to perfection:
- The center should still be slightly jiggly when you remove them from the oven as they continue cooking while cooling.
 Save
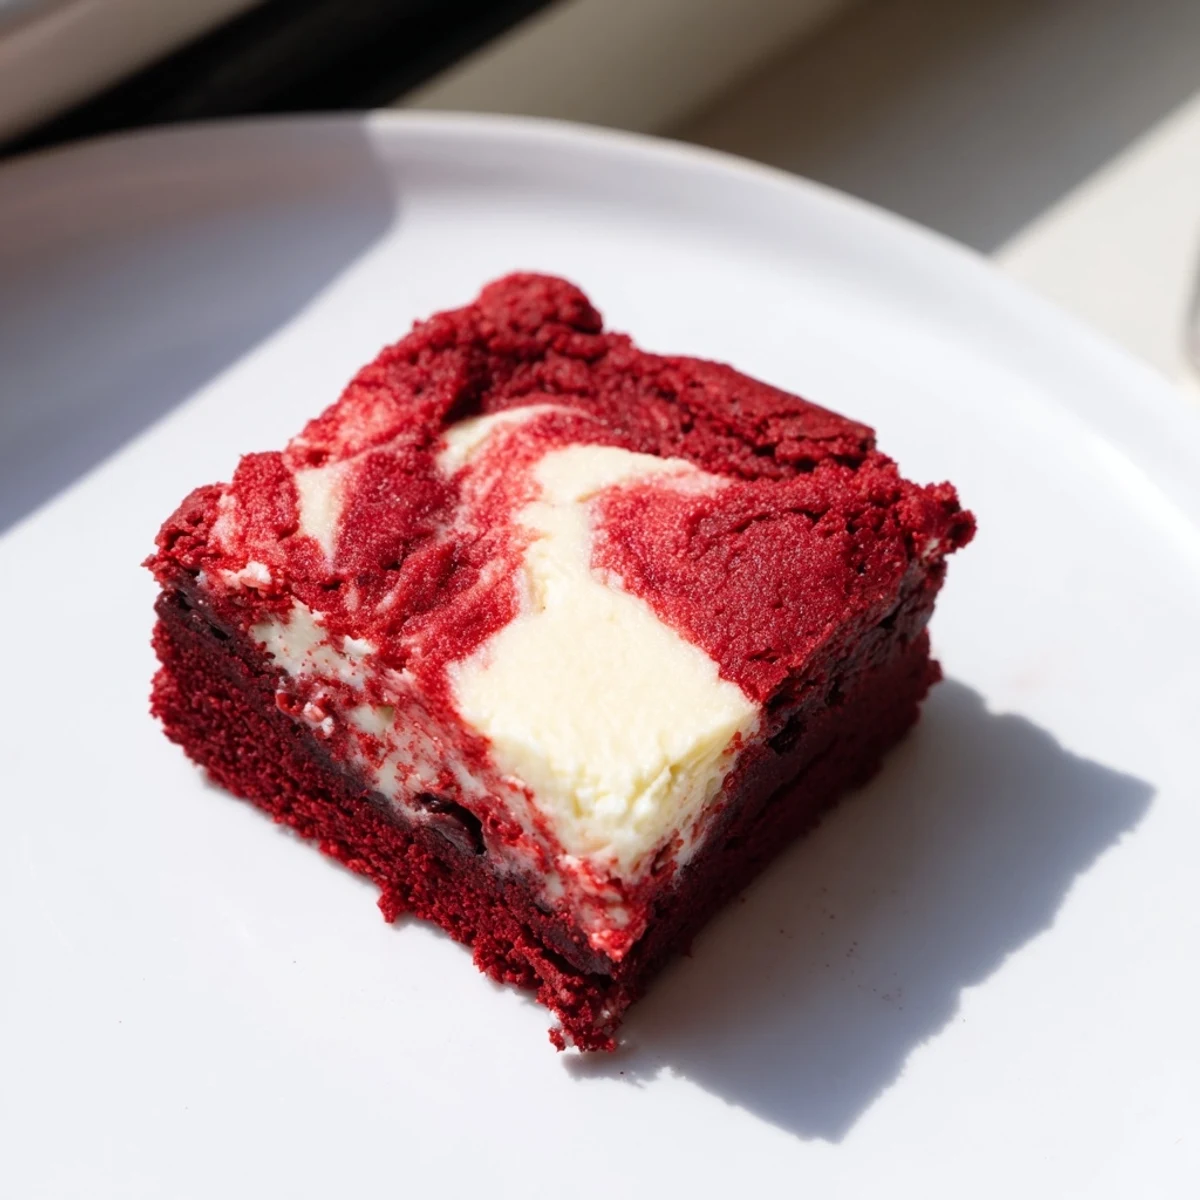
Save These became our go-to dessert for potlucks after my coworker asked for the recipe at our office holiday party. People always ask how I got the swirls so perfect but the secret is really just taking your time and not overthinking it. The red color against the white cheesecake makes these the most Instagram worthy dessert I have ever made.
Making The Perfect Swirl
The trick to getting those beautiful marbled patterns is dropping the cheesecake mixture in small spoonfuls rather than spreading it. Drop the reserved red velvet batter in between then run a knife through once or twice in an S pattern. I used to swirl too much and ended up with pink brownies instead of gorgeous red and white marbling.
Room Temperature Matters
Cold cream cheese creates lumps in your cheesecake swirl that no amount of mixing will fix. Take it out of the refrigerator at least two hours before you start baking. The same goes for your eggs which incorporate better into the batter at room temperature creating a more uniform texture throughout the brownies.
Storage And Serving
These brownies actually improve after chilling in the refrigerator overnight as the flavors meld together. Serve them cold for a firmer texture or let them come to room temperature for a softer fudgy bite.
- Warm brownies for 15 seconds in the microwave before serving to recreate that fresh baked taste
- Add a sprinkle of sea salt on top to balance the sweetness and enhance the chocolate flavor
- These freeze beautifully wrapped individually for up to three months
 Save
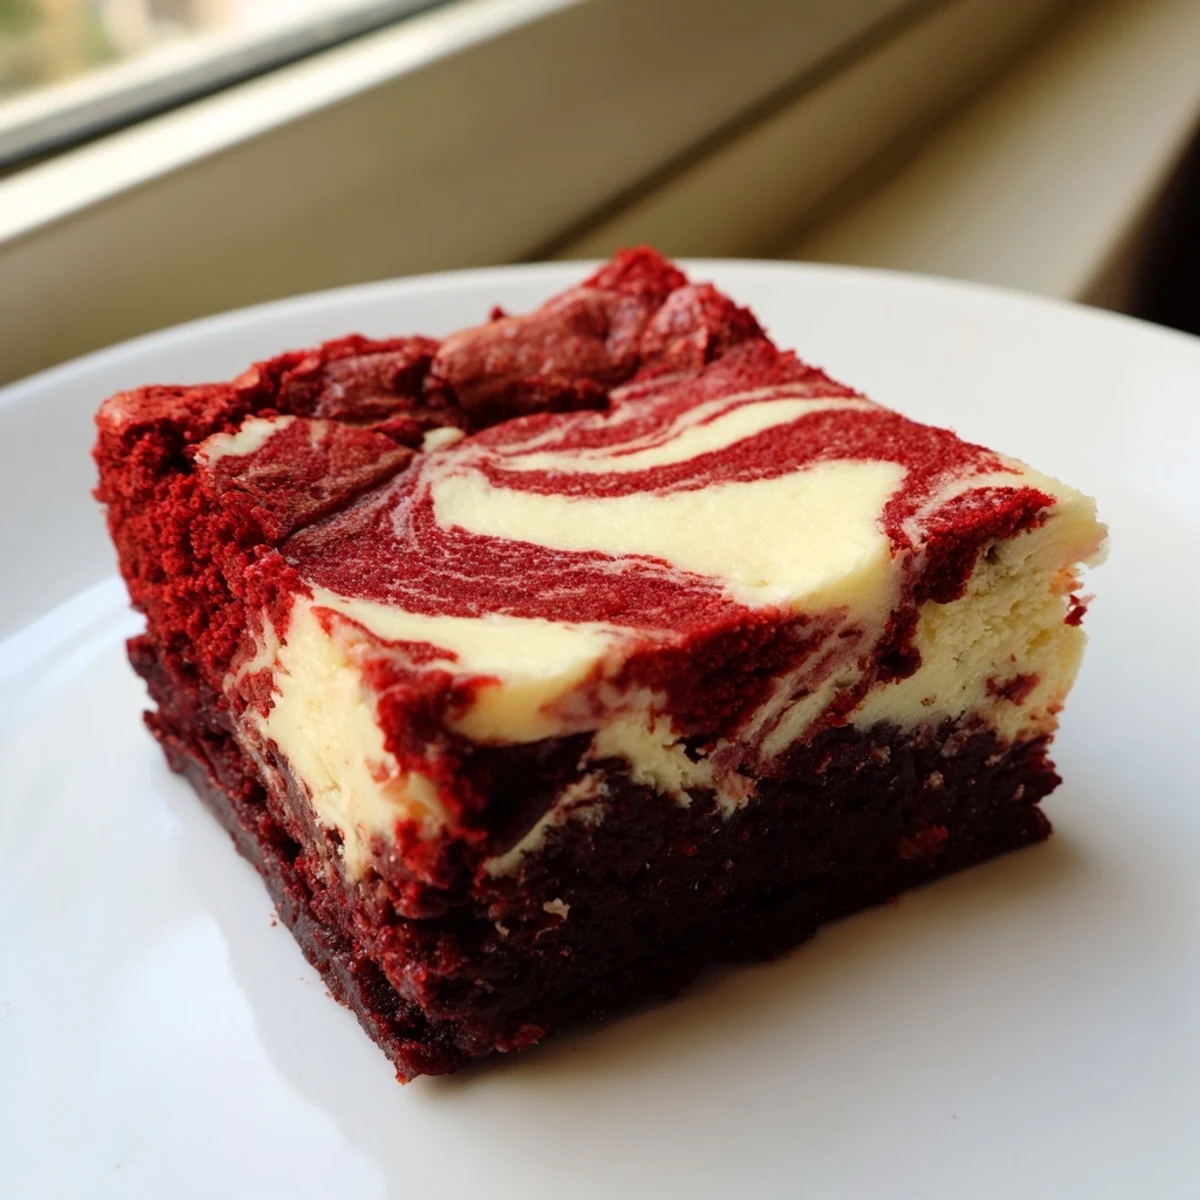
Save There is something magical about cutting into these brownies and seeing that beautiful red and white marble pattern. Every time I serve them someone inevitably asks how long it took to make something so stunning.
Your Recipe Questions Answered
- → What gives the brownies their red color?
-
The vibrant red is achieved by adding red food coloring directly to the batter, enhancing the classic red velvet look.
- → How do I create the cheesecake swirl effect?
-
Reserve a portion of brownie batter and cream cheese mixture; dollop both alternately and gently swirl with a knife before baking.
- → Can I use gel food coloring instead of liquid?
-
Yes, gel food coloring provides a brighter red hue without altering the batter’s consistency.
- → What is the purpose of vinegar in the batter?
-
Vinegar reacts with cocoa powder to enhance the brownies' tender texture and deepen the chocolate flavor.
- → How should these brownies be stored?
-
Store brownies covered in the refrigerator for up to five days to maintain freshness and texture.
- → Can I freeze these brownies?
-
Yes, wrap brownies tightly in plastic wrap and foil; freeze for up to two months. Thaw in refrigerator before serving.