 Save
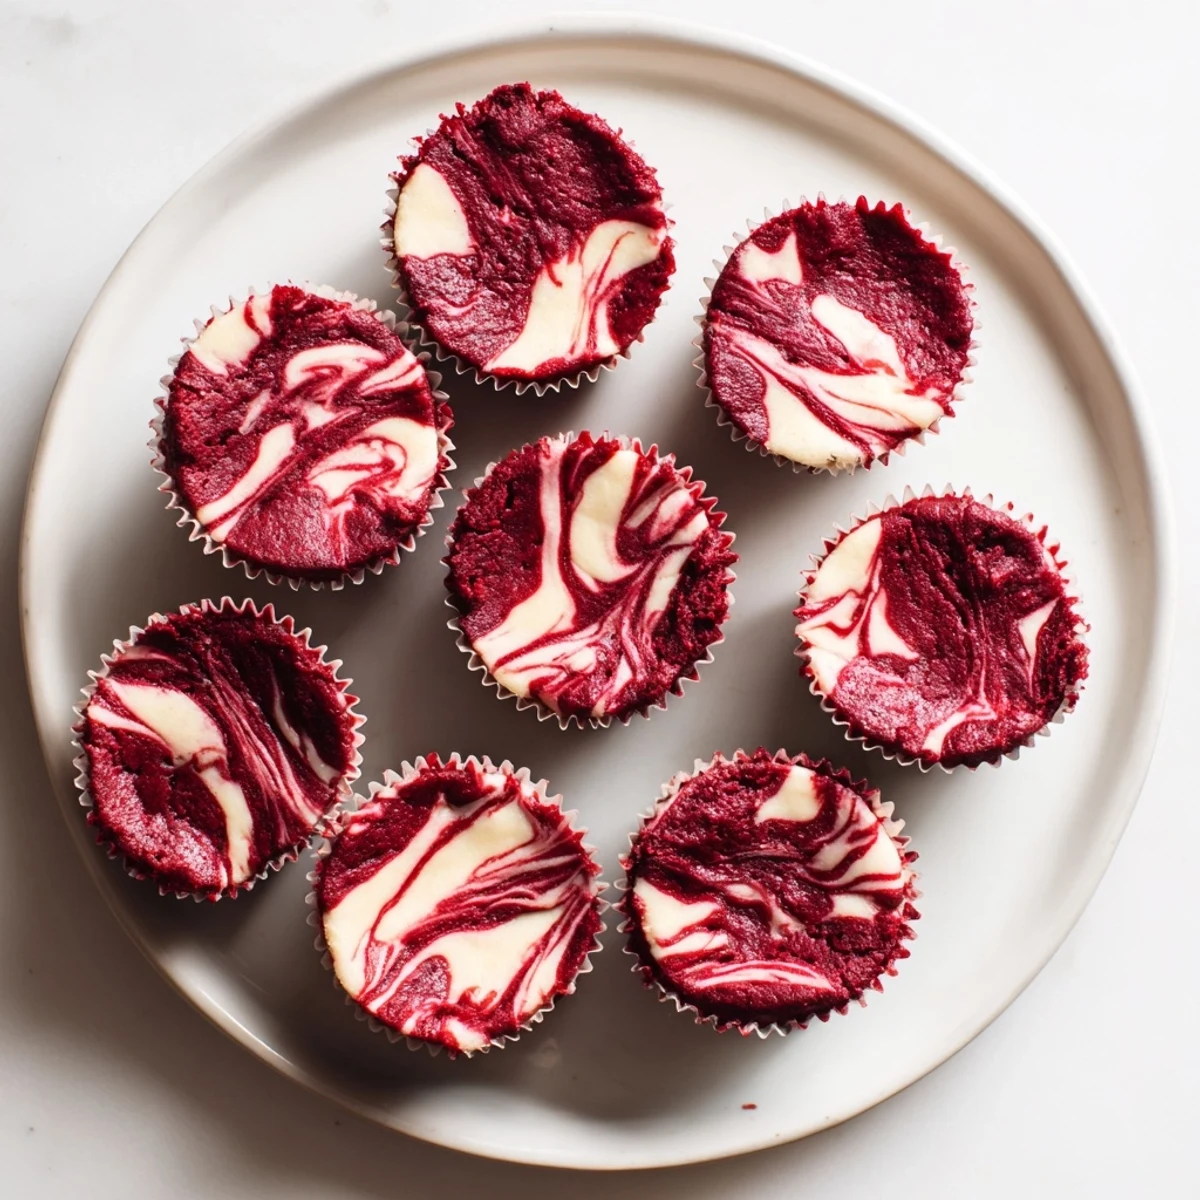
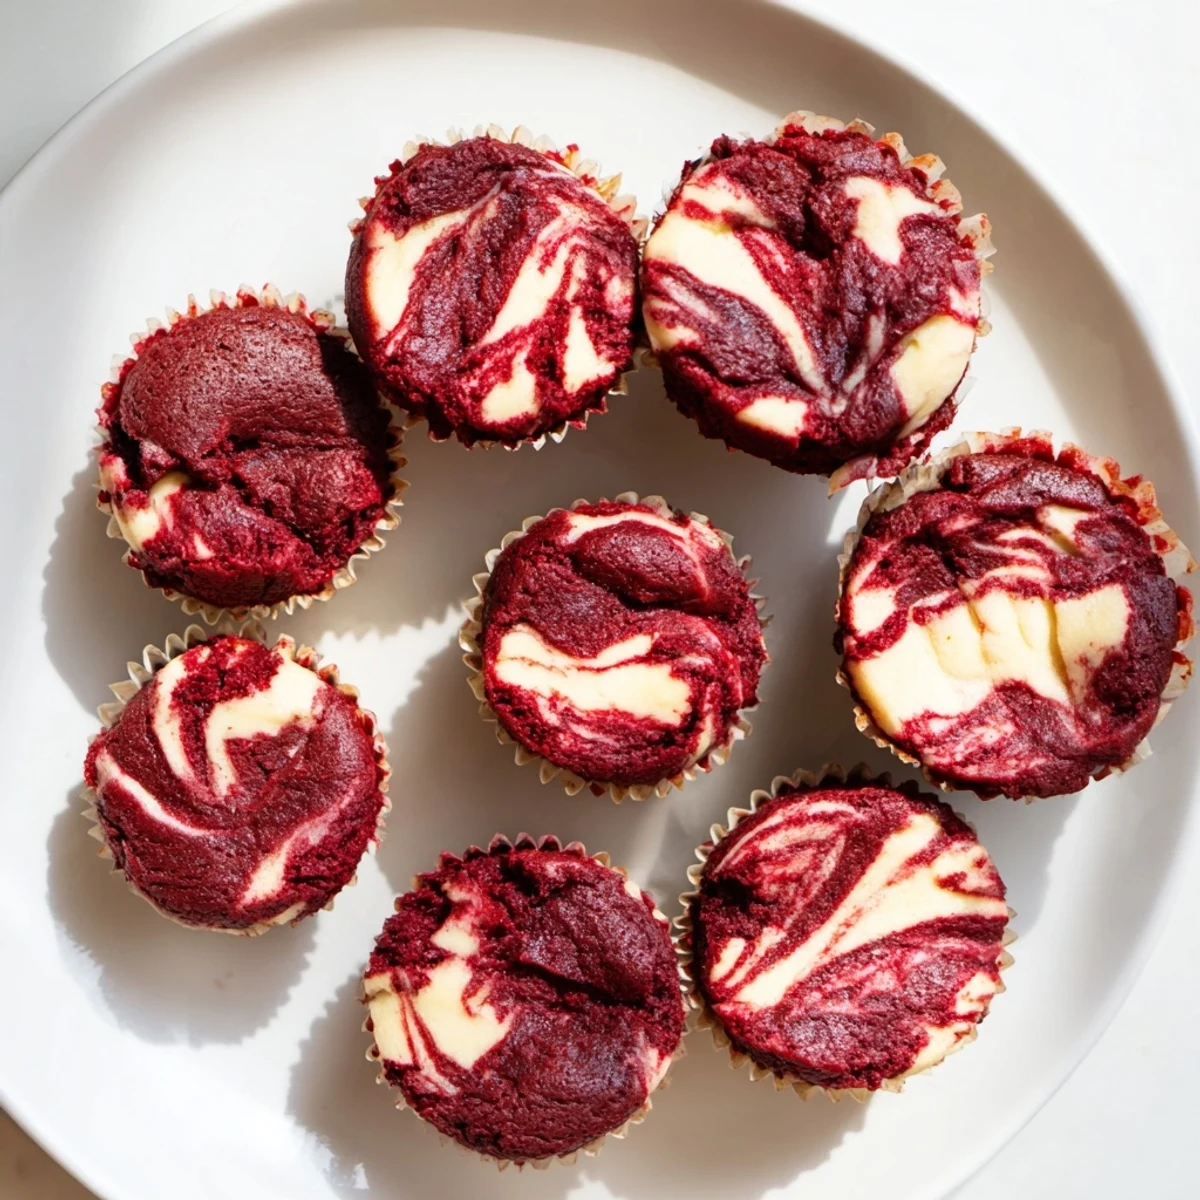
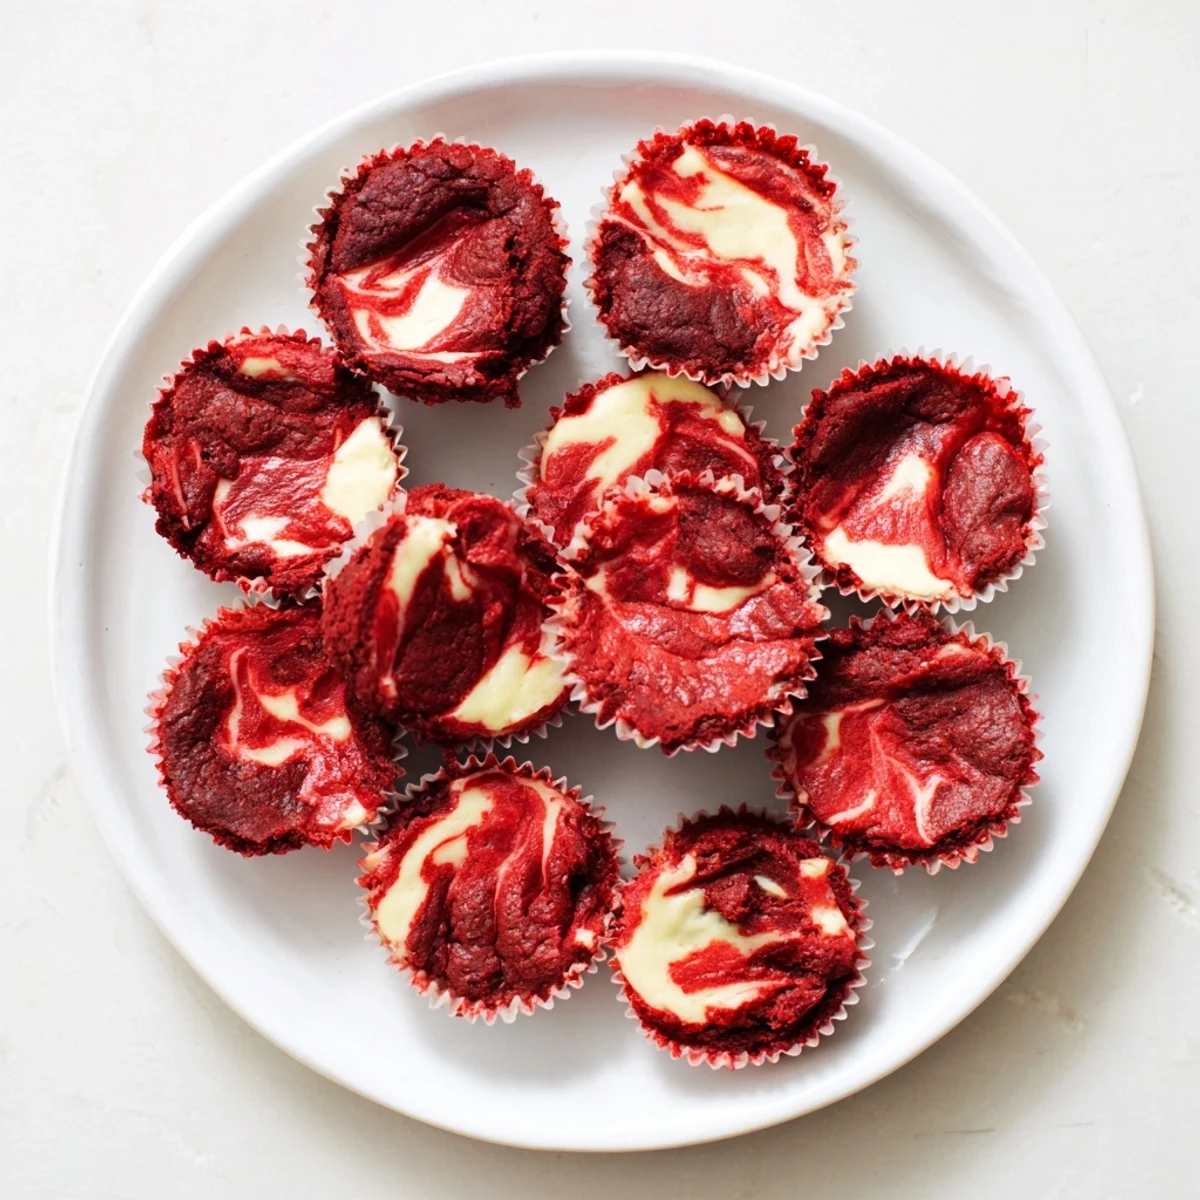
Save These bite-sized treats combine rich red velvet cocoa flavor with a tangy cream cheese swirl, creating a marbled masterpiece that's as beautiful as it is delicious. The fudgy texture pairs perfectly with the creamy topping, making them irresistible for dessert tables, gift boxes, or afternoon snacks.
The first time I attempted red velvet anything, I accidentally dyed my entire kitchen counter bright pink. My roommate walked in, took one look at the crime scene, and asked if I'd been crafting with kindergarteners all afternoon. That batch turned out surprisingly decent despite the chaos, and something about that dramatic color against the snowy cream cheese swirl stuck with me. Now I make these bite-sized versions whenever I need a dessert that looks impressive but comes together in under an hour.
I brought a batch to my friend's holiday party last year, thinking they'd just be one dessert among dozens. An hour later, her mom tracked me down to demand the recipe, and I watched three different people sneak seconds when they thought nobody was looking. Something about that swirled pattern makes people assume you spent hours on them, which is a secret I'm happy to keep.
Ingredients
- Unsalted butter: Melted butter creates that dense fudgy texture we want in brownies, and using unsalted lets you control the seasoning
- Granulated sugar: This amount hits the perfect sweet spot without overpowering the cream cheese tang
- Large egg: Room temperature eggs incorporate more evenly into your batter
- Red food coloring: Gel coloring gives you that vibrant crimson hue with less liquid, which keeps your brownie texture intact
- All-purpose flour: Don't pack your flour when measuring, or these will turn cakey instead of fudgy
- Unsweetened cocoa powder: Dutch-processed cocoa gives a smoother chocolate flavor that won't compete with the cream cheese
- Cream cheese: Make sure it's properly softened, or you'll end up with lumpy swirls instead of ribbons
Instructions
- Prep your pans and oven:
- Get your oven to 350°F and line your mini muffin tin with liners, or give each cup a quick butter rub if you prefer the rustic look
- Mix the brownie base:
- Whisk that melted butter and sugar until it looks glossy, then beat in your egg, vanilla, and red food coloring until everything's a uniform shocking pink
- Add the dry ingredients:
- Sift your flour, cocoa, and salt right into the wet mixture and fold everything together just until you don't see dry streaks anymore
- Make the cream cheese swirl:
- In another bowl, beat your cream cheese, sugar, egg yolk, and vanilla until it's completely smooth with zero lumps
- Assemble the bites:
- Drop about a tablespoon of brownie batter into each muffin cup, then top each with a teaspoon of cream cheese mixture
- Create the marble effect:
- Use a toothpick to drag through the layers, maybe making a figure eight pattern, but don't overdo it or you'll lose those distinct swirls
- Bake to perfection:
- Slide them into the oven for 23 to 25 minutes, checking that the centers are set with just a few moist crumbs on a toothpick
- Cool completely:
- Let them hang out in the pan for 10 minutes before moving them to a wire rack, or the cream cheese will smear everywhere
 Save
Save My niece now requests these for every family gathering, birthday, and random Tuesday. Watching her carefully choose which bite to take based on the swirl pattern has become one of those small traditions that makes cooking feel like creating memories instead of just food.
Getting That Perfect Swirl
I've learned that the trickiest part is getting the cream cheese to marble properly without mixing completely into the brownie batter. If your cream cheese mixture is too warm, it'll just blend in and you'll lose that gorgeous contrast. Keep it chilled until the exact moment you're ready to dollop it on top, and use a light hand when you run your toothpick through the layers.
Scaling For Crowds
When I'm making these for a party or holiday gathering, I usually double the batch and use two mini muffin tins. They freeze beautifully, so I'll bake extras weeks in advance and pull them out the morning of an event. Just let them thaw in the fridge, and nobody will know they weren't baked that day.
Make It Your Own
Sometimes I'll fold white chocolate chips into the brownie batter or add a pinch of espresso powder to deepen the chocolate flavor. The red velvet base is surprisingly forgiving and plays well with lots of mix-ins, so feel free to experiment once you've mastered the basic version.
- Try adding crushed peppermint candies on top during the holidays for a minty twist
- A splash of buttermilk in the brownie batter makes them extra tender and gives a slight tang
- If you want to skip food coloring entirely, these taste just as delicious as plain chocolate cheesecake brownies
 Save
Save These red velvet brownie bites have become my go-to whenever I need something that feels special but doesn't require me to spend all day in the kitchen. Hope they find a permanent place in your recipe rotation too.
Your Recipe Questions Answered
- → How do I know when the brownie bites are done?
-
Insert a toothpick into the center—it should come out with a few moist crumbs rather than wet batter. The tops should be set but still slightly soft to the touch.
- → Can I make these ahead of time?
-
Yes, these store beautifully in an airtight container in the refrigerator for up to 4 days. The flavors actually develop and intensify after a day.
- → What's the best way to achieve the marbled swirl effect?
-
Gently drag a toothpick through the cream cheese topping in a circular or figure-eight motion without mixing it completely into the batter—just 2-3 passes creates beautiful marble patterns.
- → Can I freeze these brownie bites?
-
Absolutely! Wrap them individually in plastic wrap, place in a freezer bag, and freeze for up to 3 months. Thaw at room temperature for 30 minutes before serving.
- → How can I make the red color more vibrant?
-
Use gel food coloring instead of liquid—it provides deeper, more intense color with less product. Start with a small amount and add more until you reach your desired shade.