 Save
Save Créez une boisson végétale authentique en mixant simplement de la noix de coco râpée avec de l'eau chaude. Ce liquide crémeux se prépare en quelques minutes dans un blender et se conserve plusieurs jours au frais.
Une filtration soigneuse à travers une étamine permet d'obtenir une texture lisse et homogène. Le produit final s'intègre parfaitement aux préparations culinaires variées, des currys asiatiques aux pâtisseries tropicales.
La pulpe restante ne se perd pas : séchée, elle devient une poudre aromatique pour enrichir vos gâteaux et biscuits. Cette fabrication maison évite les additifs industriels tout en garantissant une saveur intense de coco.
The first time I made homemade coconut milk, I couldn't believe how different it tasted from the canned version I'd been using for years. It was winter, my kitchen was freezing, but blending hot water with coconut flakes filled the entire room with this incredible tropical warmth that felt almost defiant against the gray weather outside. Now I keep a jar in my fridge constantly, reaching for it instead of cartons of plant milk from the store.
Last summer I made a huge batch for a curry night with friends who were skeptical about homemade coconut milk. One taste in their coffee the next morning and they were all texting me for the recipe, completely converted. There's something so satisfying about making something from scratch that people assume must come from a factory.
Ingredients
- 200 g unsweetened shredded coconut: The quality here matters more than you'd think, organic flakes give a noticeably creamier result
- 1 liter hot water: Not boiling, just hot enough to help release those natural coconut oils without killing the enzymes
Instructions
- Blend the coconut:
- Toss the shredded coconut into your blender and pour in the hot water, then let it sit for about 5 minutes to soften the flakes before blending on high speed for 2 to 3 minutes until everything looks creamy and well combined.
- Strain and press:
- Pour the mixture through a nut milk bag or clean cheesecloth set over a large bowl, then squeeze and press until you've extracted every last drop of those precious coconut oils.
- Store it right:
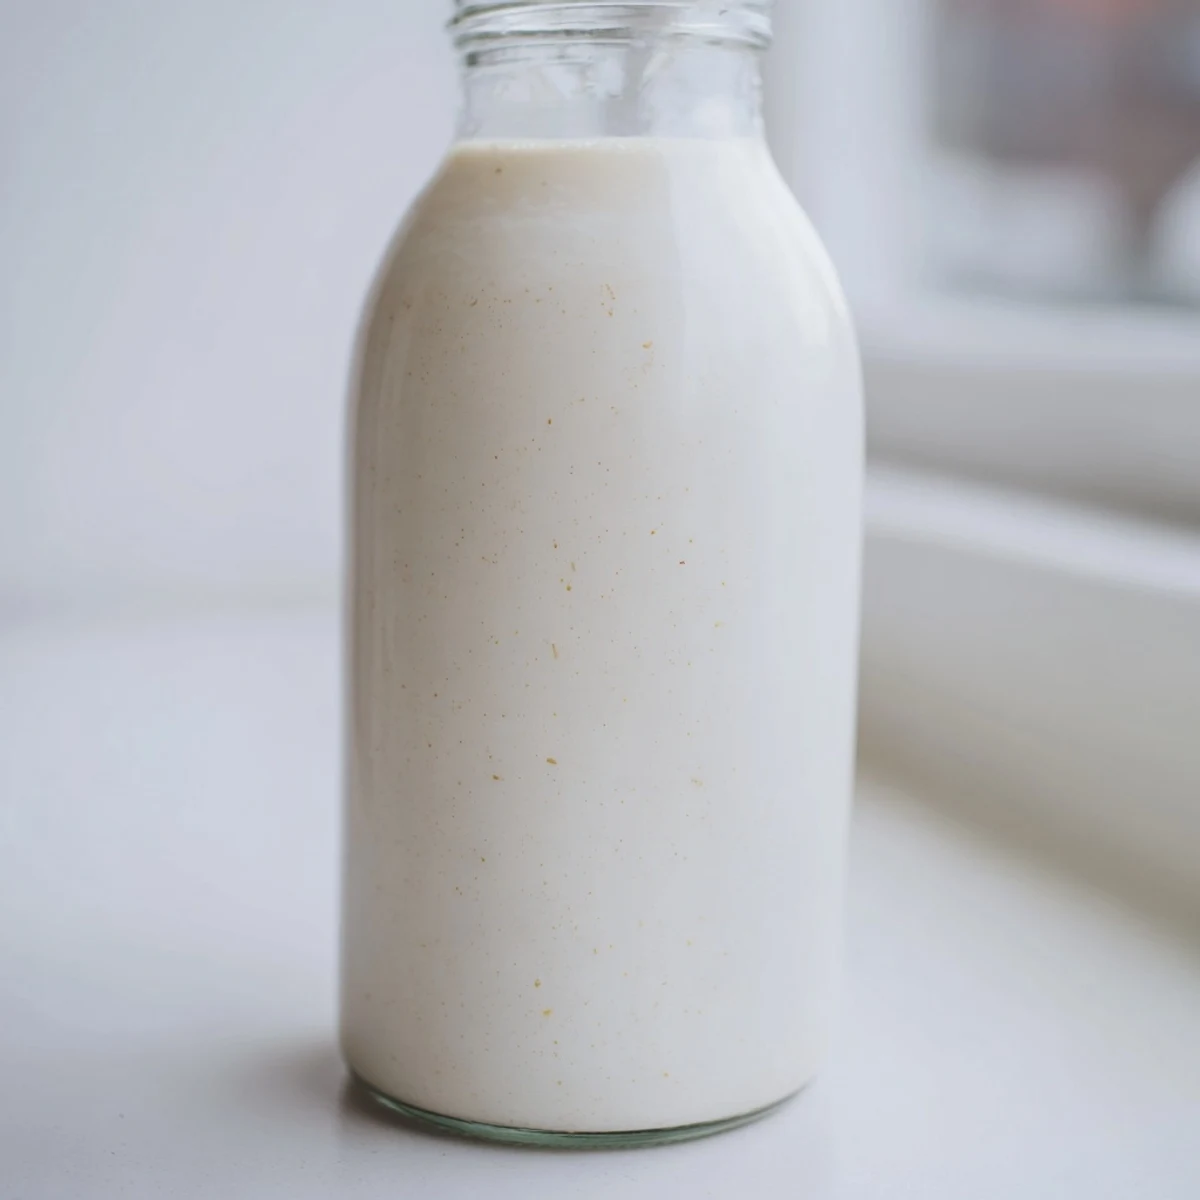
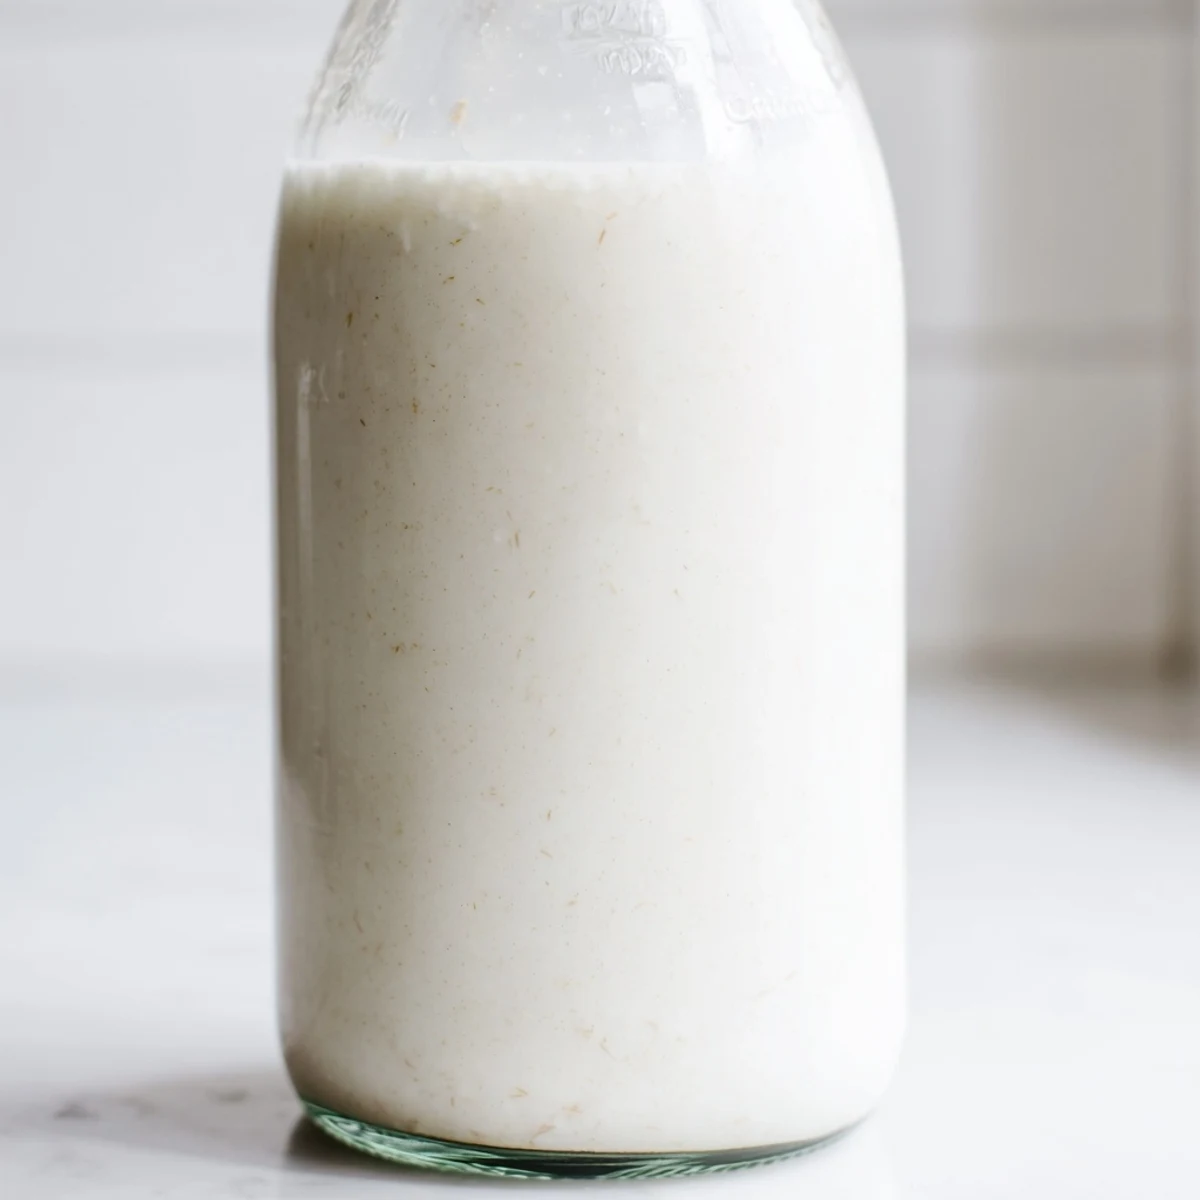
- Use a funnel to transfer your fresh coconut milk into a clean glass bottle, keep it refrigerated for up to 4 days, and always give it a good shake before using.
 Save
Save This recipe became my go-to gift last holiday season, pouring homemade coconut milk into pretty bottles with handwritten labels. Watching people's faces when they realized I'd made it myself was better than any store bought present I could have bought.
Making It Yours
Sometimes I'll add a tiny pinch of sea salt or a teaspoon of maple syrup if I'm planning to use it for drinking straight or in smoothies. The beauty of making it yourself is that you can adjust each batch to exactly how you like it.
Texture Secrets
If you want an extra rich coconut milk, use slightly less water or let it soak longer before blending. I've also played with adding a few soaked cashews for an even creamier consistency that works beautifully in desserts.
Beyond The Basics
Once you get comfortable with the basic recipe, try experimenting with different variations and uses. The possibilities for customization are endless.
- Blend in a vanilla bean or a drop of vanilla extract for coffee or desserts
- Use warm coconut milk as a base for golden milk or hot chocolate
- Freeze leftover milk in ice cube trays for smoothies or curries later
 Save
Save There's something deeply satisfying about making something so useful from such simple ingredients. Every batch feels like a small victory against the industrial food system.
Your Recipe Questions Answered
- → Combien de temps se conserve le lait de coco fait maison ?
-
Le lait de coco frais se conserve 4 jours maximum au réfrigérateur dans une bouteille hermétique. Secouez bien avant chaque utilisation car la séparation naturelle peut se produire.
- → Peut-on congeler le lait de coco maison ?
-
Oui, vous pouvez congeler le lait de coco jusqu'à 3 mois. Placez-le dans des bacs à glaçons ou des contenants hermétiques en laissant un espace d'expansion.
- → Quelle différence avec le lait de coco industriel ?
-
La version artisanale contient uniquement deux ingrédients naturels sans conservateurs ni épaississants. La texture est plus légère et la saveur de coco plus authentique.
- → Comment utiliser la pulpe restante après filtration ?
-
Étalez la pulpe sur une plaque et séchez-la au four à bas température (90°C) pendant 1-2 heures. Mixez ensuite pour obtenir une poudre de coco à incorporer dans vos pâtisseries.
- → Peut-on remplacer l'eau par autre liquide ?
-
Pour plus de richesse, utilisez du lait d'amande ou d'avoine. Pour une version sucrée, optez pour de l'eau de coco ou ajoutez du sirop d'érable directement lors du mixage.
- → Pourquoi l'eau ne doit-elle pas être bouillante ?
-
L'eau trop chaude peut cuire la coco et altérer ses saveurs. Une température entre 70-80°C suffit à extraire les arômes sans dénaturer les huiles essentielles du fruit.