 Save
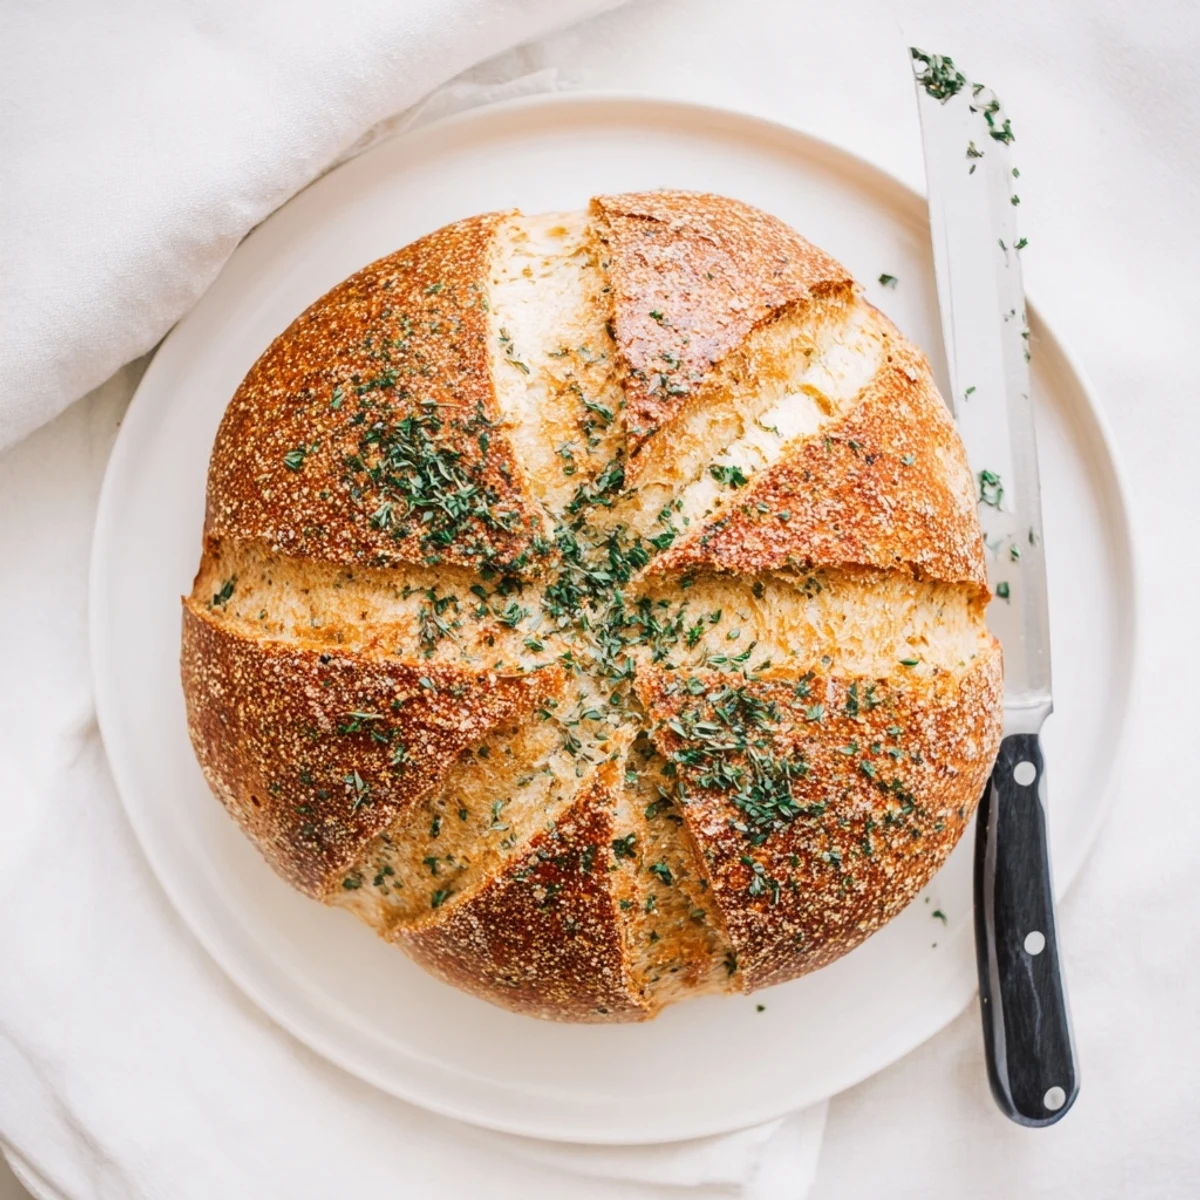
Save This artisan-style bread combines aromatic garlic with fresh rosemary, thyme, and parsley for incredible flavor. The Dutch oven baking method creates professional bakery results at home—think crackly golden crust with a soft, tender crumb inside.
The dough comes together quickly with just flour, yeast, water, olive oil, and seasonings. After a simple 2-hour rise, you'll shape it into a round loaf and bake it in a preheated Dutch oven. The trapped steam from the covered pot mimics a professional steam oven, giving you that perfect crust.
Finish with melted butter and extra herbs for an aromatic, restaurant-quality loaf that's ideal alongside soups, salads, or enjoyed warm with olive oil.
My tiny apartment kitchen smelled like an Italian bakery for days after I first attempted this bread. I'd been intimidated by Dutch oven baking for years, convinced it required some secret baker's wisdom I didn't possess. Turns out, the Dutch oven does most of the work itself, creating that steam-filled environment that makes bakery-style crusts possible at home.
Last winter, during that week we got snowed in, I made three loaves back to back. My roommate kept wandering into the kitchen, claiming she was just checking the mail. We ended up eating an entire loaf straight from the oven, tearing pieces off with our hands while the butter was still melting into the crumb.
Ingredients
- Bread flour: Higher protein content than all-purpose gives the bread structure and chewiness, which helps it hold up to all those garlic and herbs
- Active dry yeast: Make sure your water feels like bathwater, too hot and youll kill the yeast, too cool and itll take forever to wake up
- Garlic: Fresh minced cloves distribute throughout the dough, creating these pockets of aromatic intensity that make the bread unforgettable
- Fresh herbs: Rosemary, thyme and parsley work together beautifully, but dont be afraid to adjust based on what you have or what smells best at the market
- Olive oil: Keeps the dough tender and adds subtle fruitiness that complements the garlic perfectly
Instructions
- Mix the foundation:
- Combine bread flour, salt, and sugar in a large bowl, then stir in the yeast until everything is evenly distributed
- Bring it together:
- Pour in the warm water and olive oil, mixing with a wooden spoon until you have a shaggy, sticky dough
- Add the magic:
- Fold in the minced garlic and chopped herbs until theyre speckled throughout the dough
- Let it rise:
- Cover your bowl and walk away for 2 hours, letting time and warmth do their work
- Shape your loaf:
- Turn the dough onto a floured surface and gently tuck the edges underneath to form a round
- Rest again:
- Place the dough on parchment, cover loosely, and let it relax for 30 minutes while your oven heats
- Preheat everything:
- Put your Dutch oven and its lid in the oven and crank it to 450°F for at least 30 minutes, getting everything screaming hot
- The dangerous transfer:
- Carefully lift the parchment and lower the dough into the hot Dutch oven, then score the top with a sharp knife
- Bake covered:
- Put the lid on and bake for 30 minutes, trapping steam to create that gorgeous crust
- Reveal the glory:
- Remove the lid and bake another 15 to 20 minutes until the crust is deeply golden and sounds hollow when tapped
- The finishing touch:
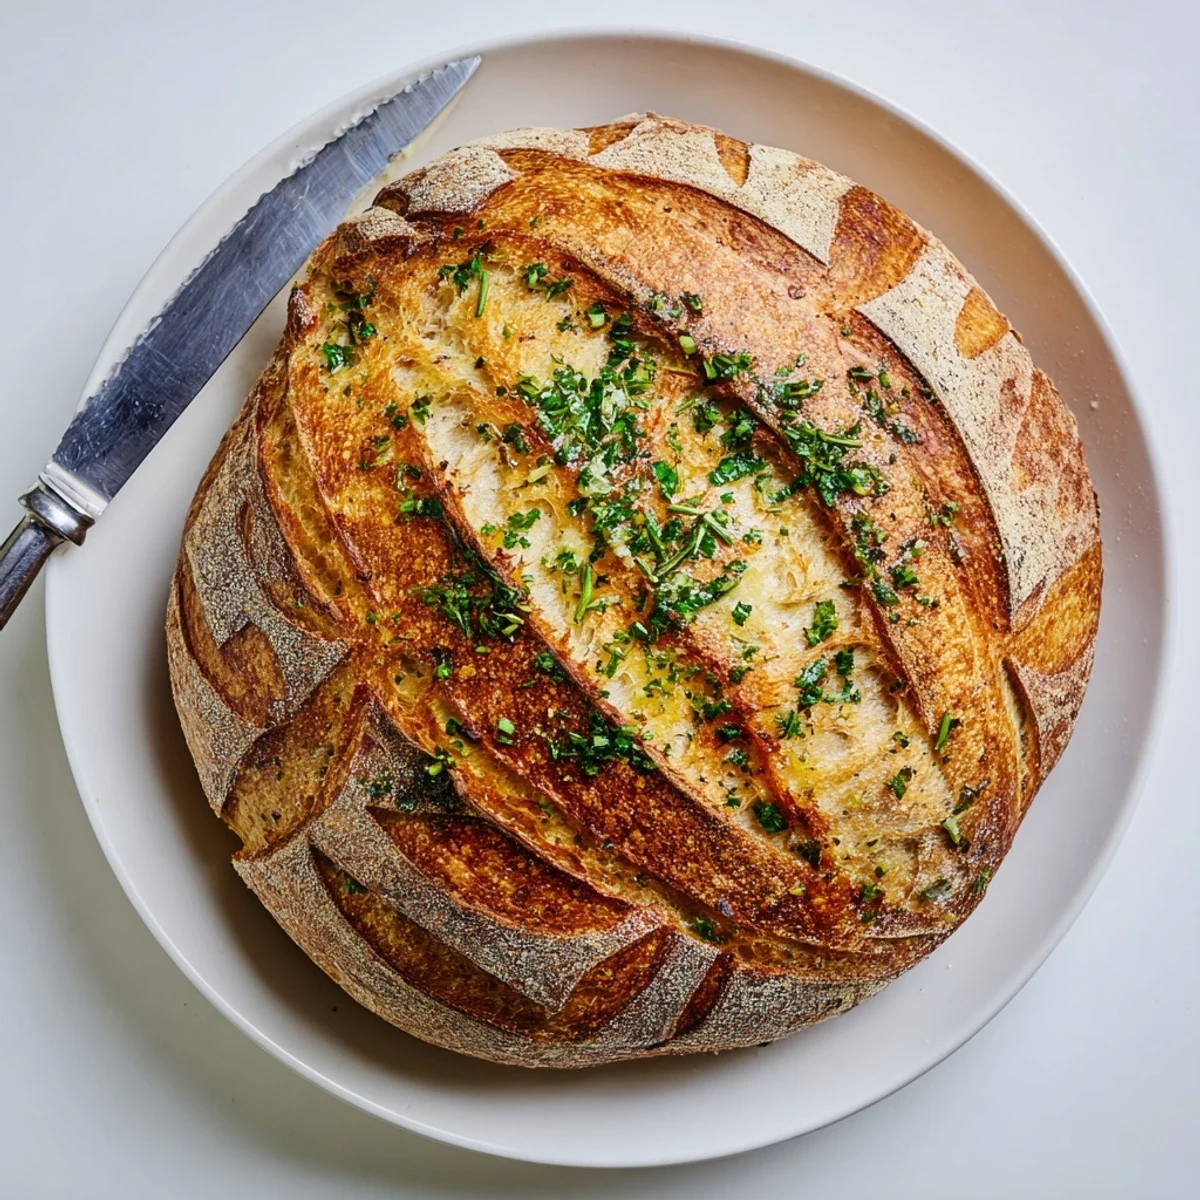
- Brush the hot bread with melted butter and sprinkle with extra herbs, then let it cool before slicing
 Save
Save My mom requested this bread for Thanksgiving instead of dinner rolls, which felt like a huge compliment. She stood by the counter, watching it rise, and told me stories about her grandmother making bread every Friday without measuring anything.
Getting The Rise Right
I've learned that yeast is surprisingly forgiving if you pay attention to its environment. A warm, draft-free corner works best, and I've even used the proofing setting on my oven with great success. The dough should double in size, looking puffy and alive with little bubbles on the surface.
Scoring Like A Pro
Your knife needs to be razor sharp, or use a lame if you have one. Score about half an inch deep in a pattern you like, a simple cross or crescent works beautifully. This gives the bread somewhere to expand as it bakes, preventing it from bursting unpredictably.
Make It Yours
Sometimes I swap in dried herbs if my windowsill garden has died back, using about one-third the amount since they're more concentrated. A handful of grated Parmesan folded into the dough makes it incredibly savory, perfect alongside soup.
- Try adding sun-dried tomatoes for a Mediterranean twist
- Kalamata olives and fresh oregano transform this into a focaccia-style loaf
- A sprinkle of flaky sea salt on top before baking adds professional-looking crunch
 Save
Save There's something deeply satisfying about pulling this bread from the oven, the smell of garlic and herbs filling your whole house. Store it wrapped in a cloth bag, though honestly, it rarely lasts more than a day at my place.
Your Recipe Questions Answered
- → Why use a Dutch oven for bread?
-
A Dutch oven traps steam during baking, which creates a professional-style crust. The moisture keeps the exterior soft initially, allowing the bread to expand fully. Then, when you remove the lid, the dry heat creates a beautifully crisp, golden crust.
- → Can I use dried herbs instead of fresh?
-
Absolutely. Use 1 teaspoon of each dried herb (rosemary, thyme, parsley) instead of the fresh tablespoons. Dried herbs are more concentrated, so you'll need less. Add them directly to the dough with the dry ingredients.
- → How do I know when the bread is done?
-
The crust should be deep golden brown, and the loaf should sound hollow when tapped on the bottom. An instant thermometer inserted into the center should read 190-200°F. If you're unsure, bake 5 more minutes—better slightly overbaked than underbaked.
- → Can I make this dairy-free?
-
Yes, simply brush the finished loaf with olive oil instead of melted butter. You can also omit the brushing step entirely—the bread will still be delicious. The dough itself contains no dairy except the finishing butter.
- → How should I store this bread?
-
Store at room temperature in a paper bag or wrapped loosely in a clean kitchen towel for up to 2 days. For longer storage, slice and freeze in a sealed bag for up to 3 months. Avoid plastic bags at room temperature, which will make the crust soggy.
- → Can I use all-purpose flour instead of bread flour?
-
You can, but bread flour provides better structure and chewiness due to its higher protein content. If using all-purpose flour, the loaf may be slightly softer and less airy. For best results, use bread flour or a bread flour blend.