 Save
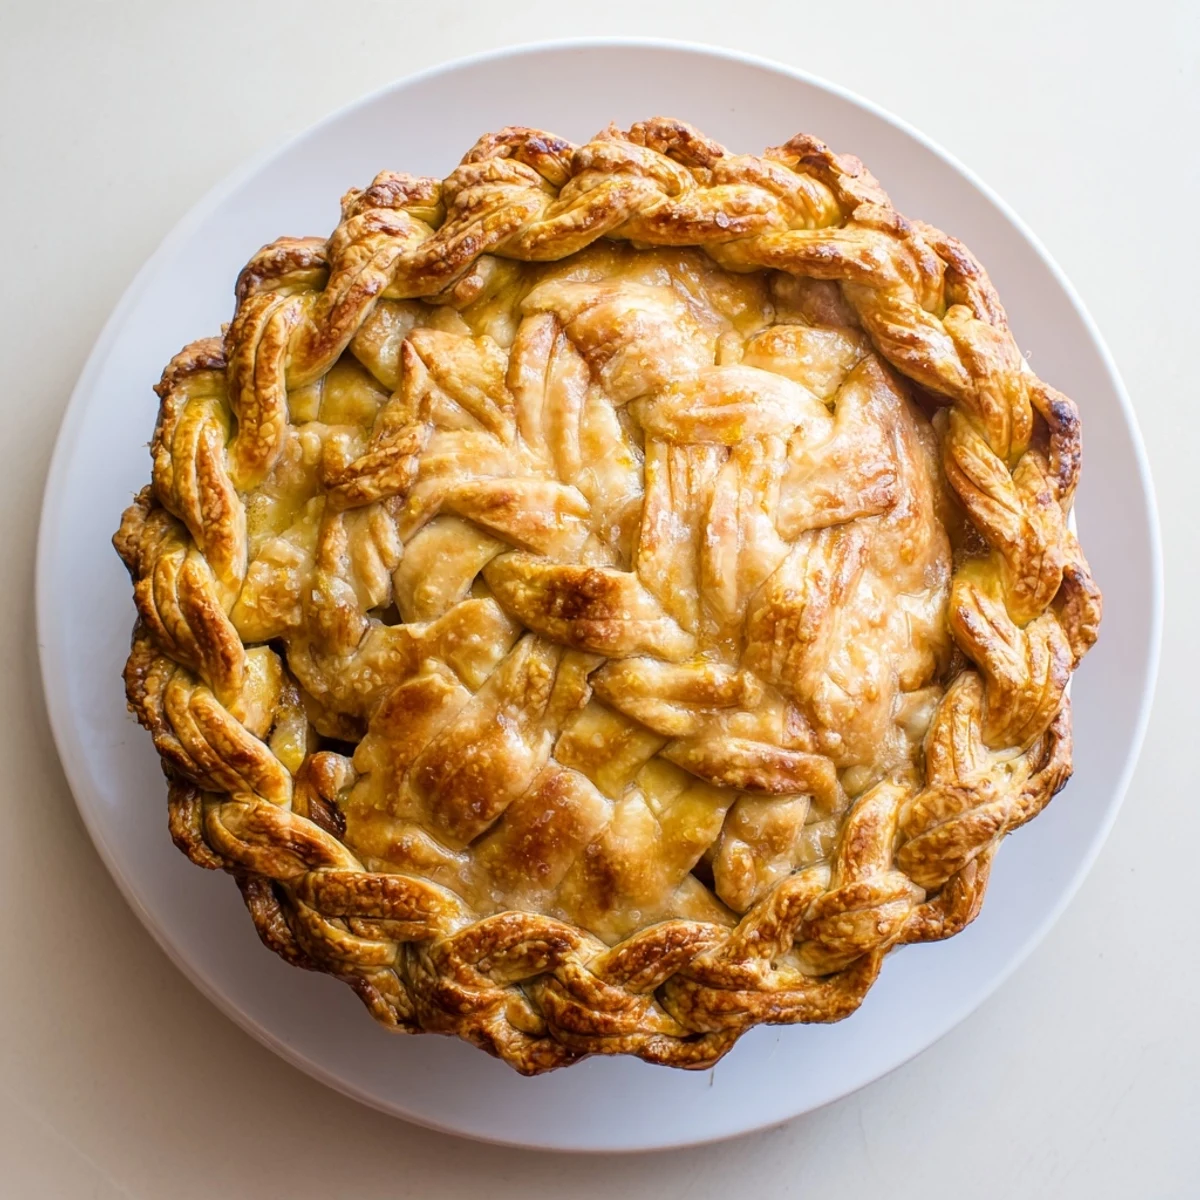
Save Master the art of creating a stunning fishtail braid pie crust that transforms ordinary pies into bakery-worthy showstoppers. This decorative technique uses simple strips of buttery dough woven into an intricate fishtail pattern, perfect for elevating everything from fruit pies to quiches. The process requires just basic ingredients—flour, butter, salt, and water—along with patience and a cool touch. Once assembled, the braided edge bakes to golden perfection, creating a professional finish that impresses guests. Ideal for holidays, special occasions, or whenever you want to make your homemade baking truly unforgettable.
The first time I attempted a braided pie crust, I was hosting Thanksgiving and feeling unnecessarily ambitious. My kitchen was chaos, flour everywhere, and I remember standing there with six strips of dough thinking, "there is absolutely no way this works." But then something magical happened as my fingers found the rhythm, and by the time my sister walked in, the braid was coiled around the pumpkin pie like edible art.
Last summer I made this for a neighborhood potluck, and a woman I barely knew asked if she could take a picture of my pie before anyone cut into it. Later she texted me saying her teenage daughter had declared it "the most beautiful thing shes ever seen" and now they make braided crusts together every Sunday. Sometimes food is just how we connect with people.
Ingredients
- All-purpose flour: The backbone of any good pie crust, providing structure while staying tender
- Cold butter: Those tiny visible butter flakes are what creates flaky layers as they melt in the oven
- Ice water: Essential for keeping the butter cold and preventing gluten development
- Egg wash: Gives your finished braid that gorgeous golden bakery shine
Instructions
- Mix your foundation:
- Whisk flour with salt and sugar in a large bowl, then work in cold butter until you see pea-sized chunks scattered throughout
- Bring it together:
- Drizzle in ice water gradually, folding gently until the dough holds together when squeezed
- Let it rest:
- Shape into disks, wrap tightly, and chill for at least one hour so the gluten relaxes
- Roll and strip:
- Roll dough into a rectangle and cut six even strips, about twelve inches long and half an inch wide
- Braid like a pro:
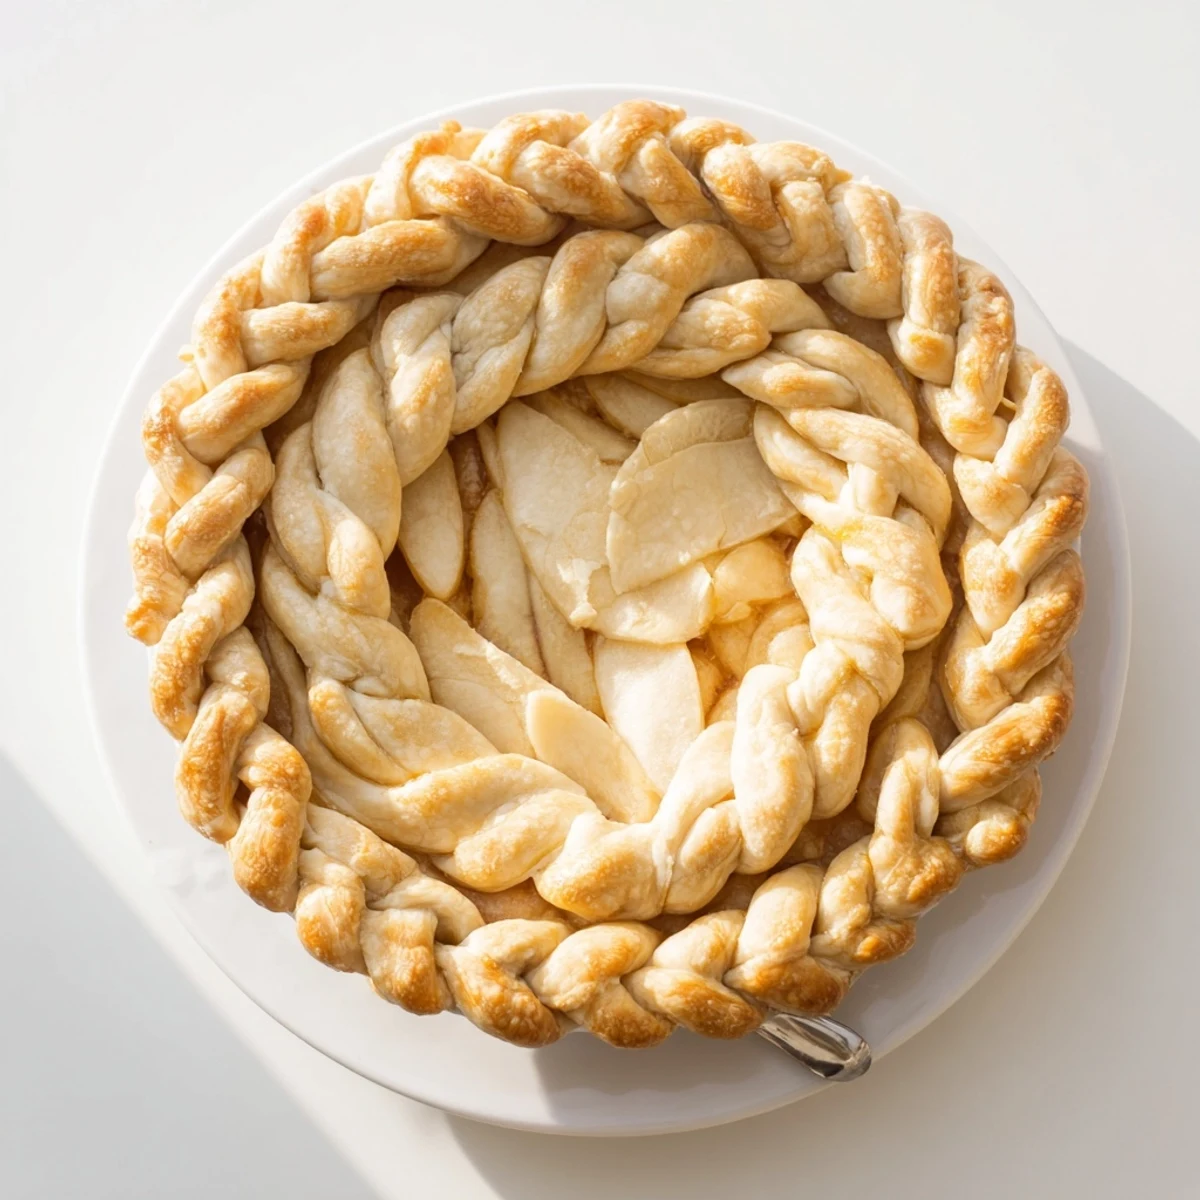
- Cross outer strips to the center repeatedly, pulling gently to keep the braid tight and even
- Crown your pie:
- Brush the pie rim with water, drape your braid around the edge, and seal with a final egg wash
 Save
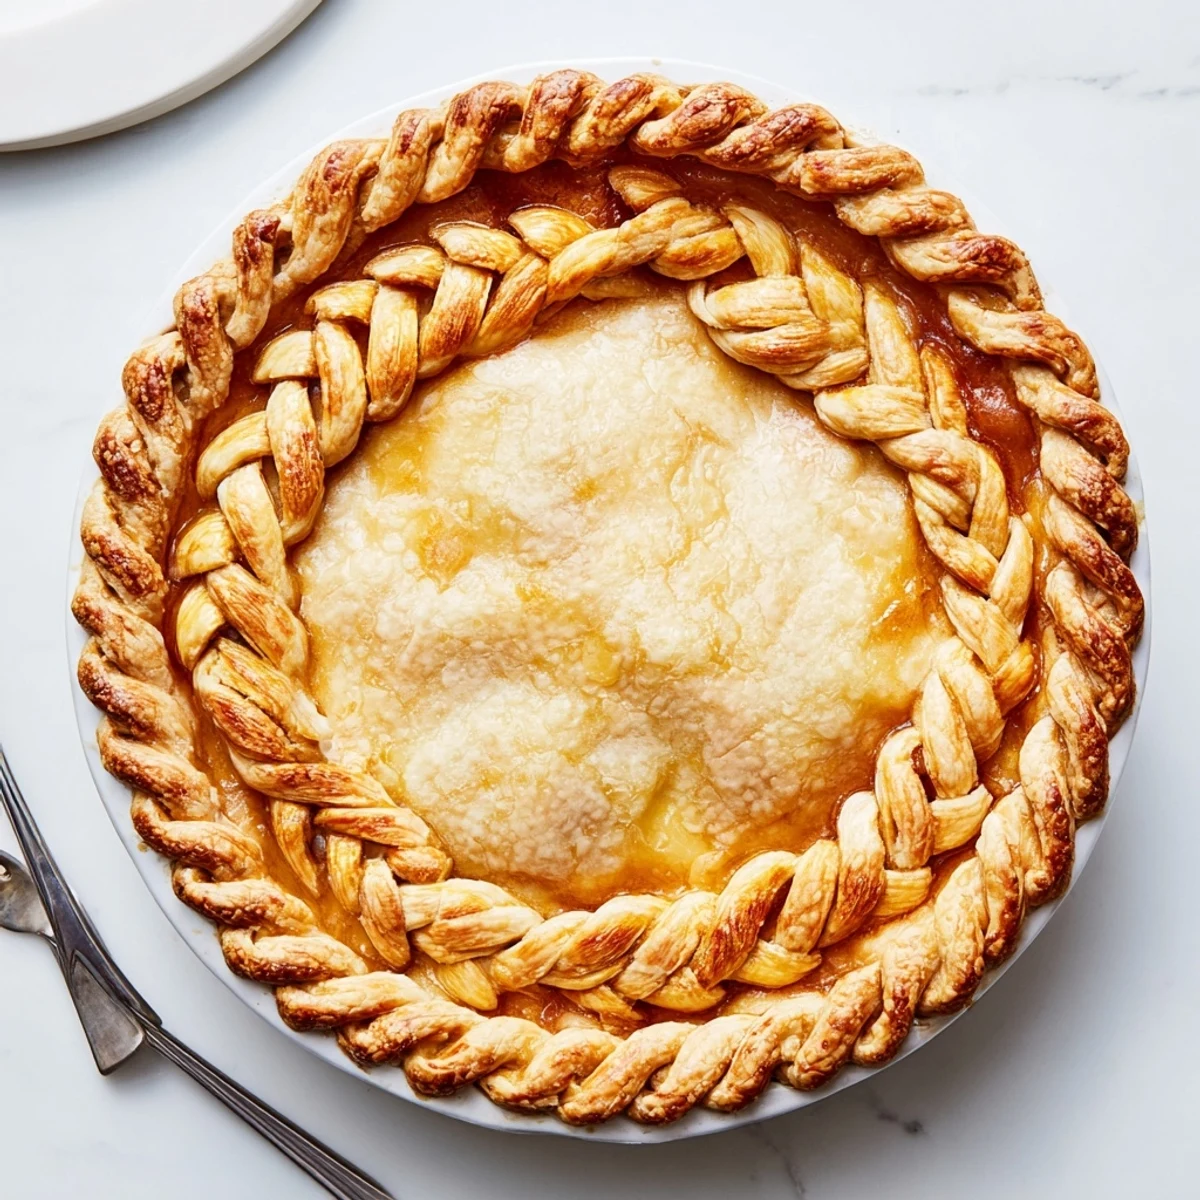
Save My grandmother would always say that people eat with their eyes first, and watching someone slice into a pie with this crust feels like watching someone unwrap a present. The reveal never gets old.
Temperature Secrets
I learned the hard way that butter temperature makes or breaks decorative work. Once I tried braiding with room temperature dough and ended up with a sagging, sad braid that melted into a puddle in the oven. Now I keep a bowl of ice water nearby to chill my hands periodically.
Getting Fancy
After you master the basic fishtail, try mixing colored dough strips into your braid. Beet juice turns dough pink, spinach makes it green, and turmeric gives you golden strands. The effect is absolutely stunning, especially for holidays.
When Things Go Wrong
Sometimes a strip tears while youre braiding, and honestly, nobody will notice but you. Just pinch it back together, egg wash over the spot, and carry on. The beauty of handmade things is that perfection isnt the point.
- If dough gets too soft, pop the whole pie in the fridge for fifteen minutes
- Leftover strips can be baked into cinnamon sugar twists
- Practice braiding with yarn or ribbon before attempting with dough
 Save
Save Theres something deeply satisfying about making something beautiful with your own two hands, especially when that something is delicious. May your kitchen be floured and your pies be braided.
Your Recipe Questions Answered
- → Why is keeping the dough cold important for braiding?
-
Cold dough maintains its structure and prevents the butter from melting too quickly. This ensures your braided strips hold their shape during assembly and bake into flaky, tender layers rather than spreading or becoming tough.
- → Can I make the braided crust ahead of time?
-
Absolutely. Prepare the braided strips, arrange them on a baking sheet, and freeze for up to 2 weeks. When ready to use, simply place the frozen braid directly onto your filled pie and bake—no thawing required.
- → What types of fillings work best with this decorative crust?
-
This versatile braid complements both sweet and savory creations. Try it with apple, cherry, or berry pies for dessert, or use it to elevate quiches, chicken pot pies, and savory vegetable tarts with an elegant finish.
- → How do I prevent the braid from burning during baking?
-
If the braid browns too quickly, tent the pie edges with aluminum foil halfway through baking. You can also brush the braid with heavy cream instead of egg wash for a slower, more even golden color.
- → Can I use store-bought dough for this technique?
-
Yes, refrigerated pie dough works well for braiding. Let it thaw slightly before rolling and cutting into strips. Keep in mind that homemade dough typically produces a richer flavor and more tender texture.
- → What's the best way to attach the braid to the pie edge?
-
Brush the rim of your filled pie with water or egg wash before placing the braid. Gently press the braided strip onto the moistened edge, ensuring good contact so it adheres properly during baking without lifting.