 Save
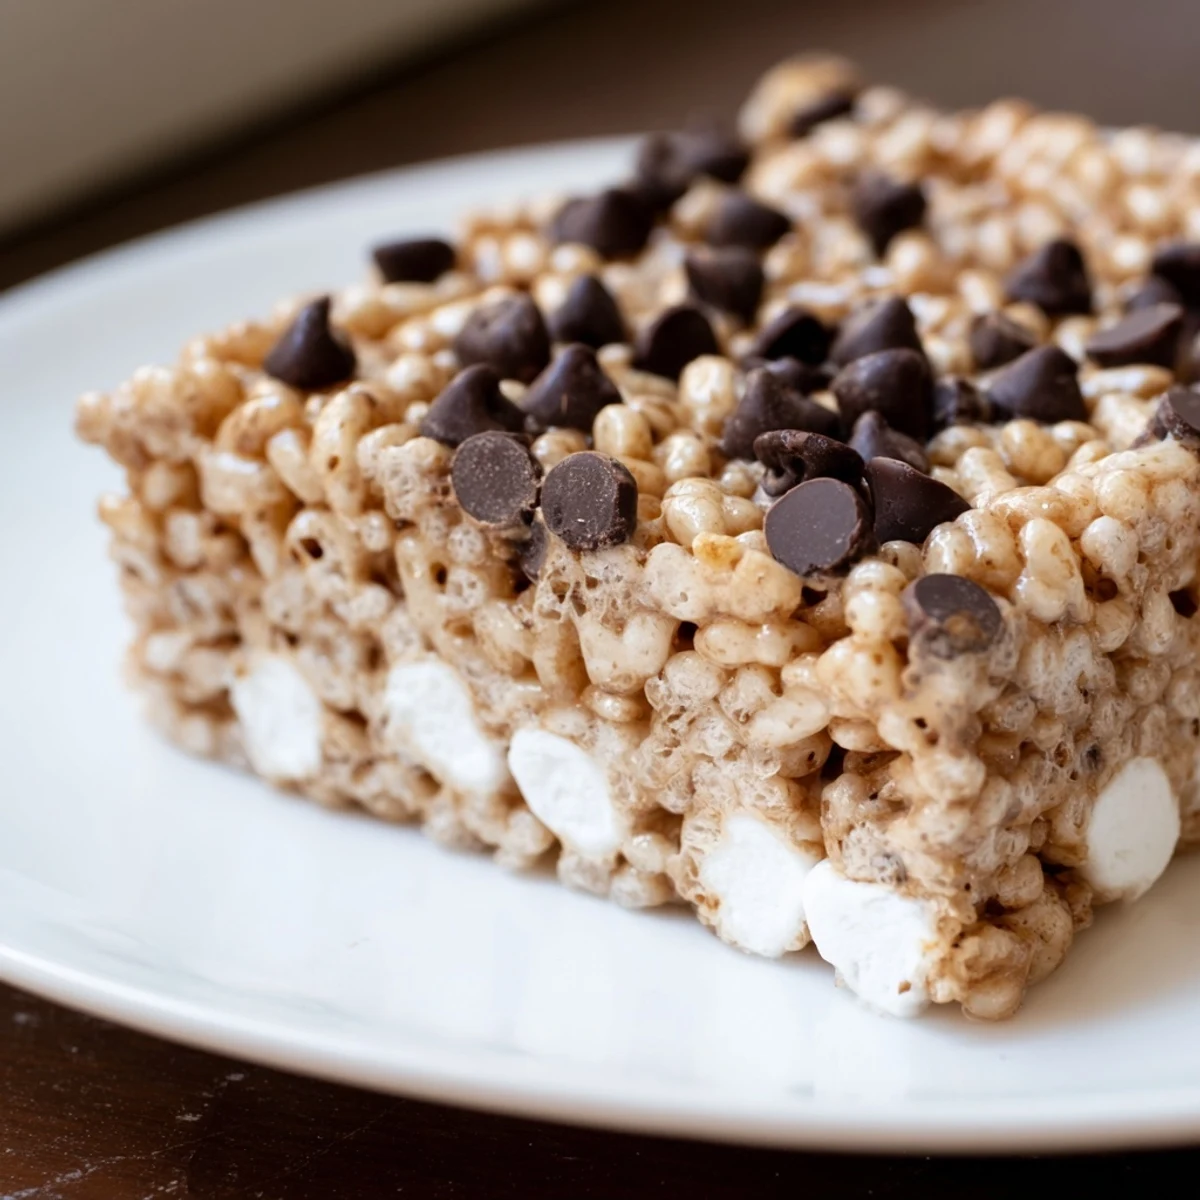
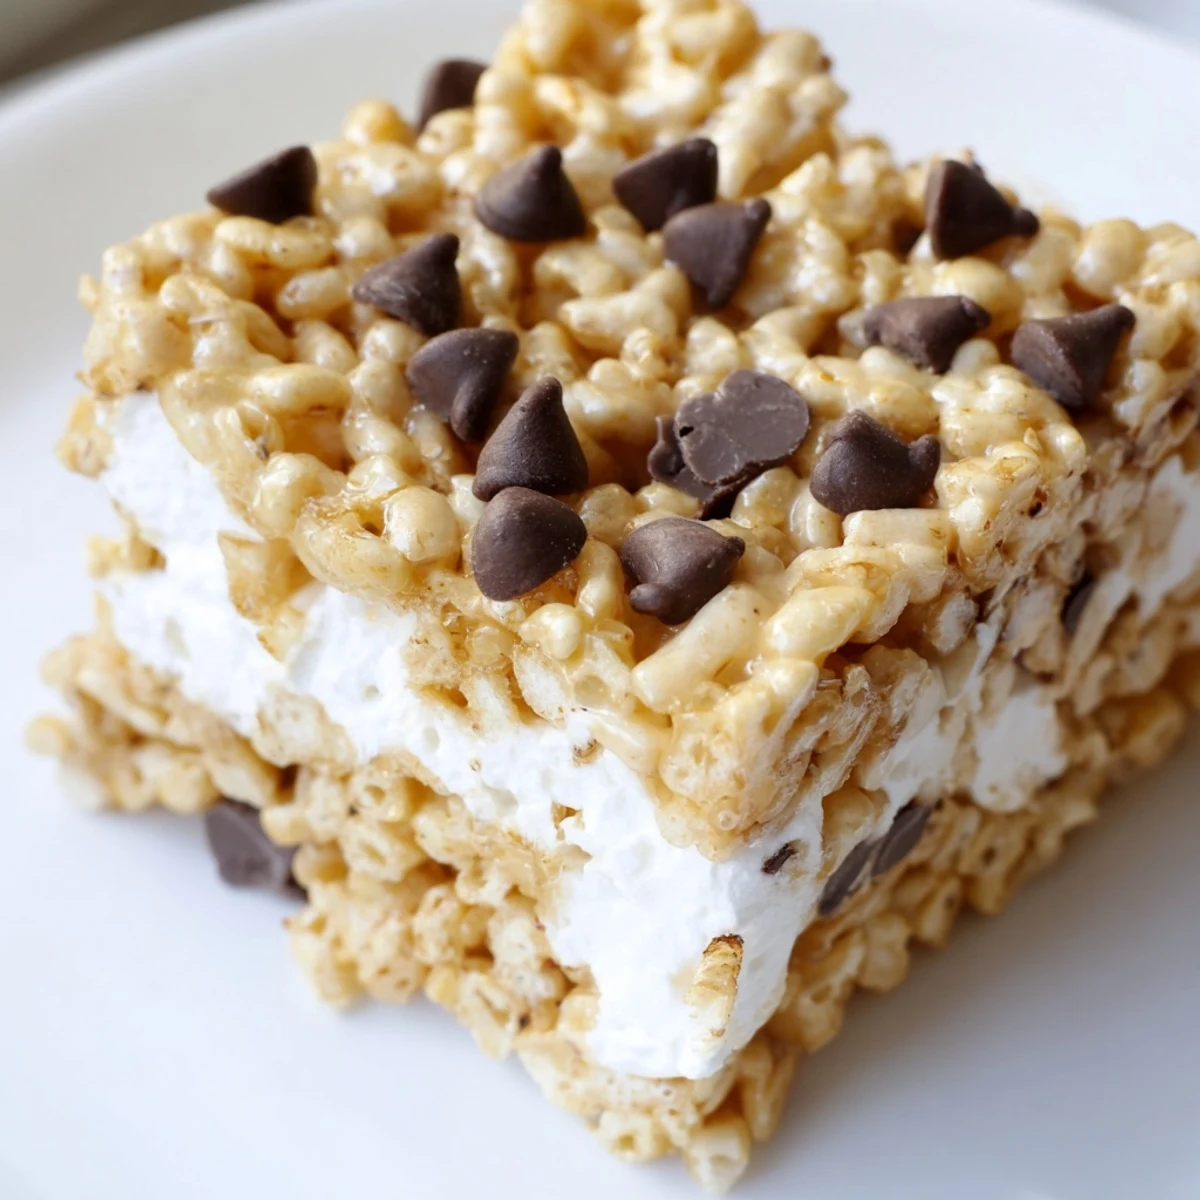
Save This classic dessert combines crispy rice cereal and melted marshmallows to create a chewy, crunchy texture. Melt butter and marshmallows together, then fold in the cereal for even coating. Press into a pan and cool until set. Optional additions like vanilla or chocolate chips add extra flavor and texture. Perfect for quick preparation and easy sharing at any occasion.
My nephew discovered these bars at a school bake sale and couldn't stop talking about them for weeks. The way his eyes lit up when he bit into that first one—hearing the satisfying crunch give way to chewy marshmallow—made me realize I needed to learn how to make them myself. What started as a mission to recreate his favorite treat became my go-to recipe for lazy afternoons and impromptu gatherings.
I made a massive batch for my daughter's birthday party, and watching the kids gather around the cooling pan, noses pressed against the counter, reminded me why simple food can be pure magic. One kid asked if they were store-bought, which somehow felt like the highest compliment.
Ingredients
- Crispy rice cereal: The foundation of everything—use the classic brand for that authentic crunch that doesn't disappear when mixed with marshmallows.
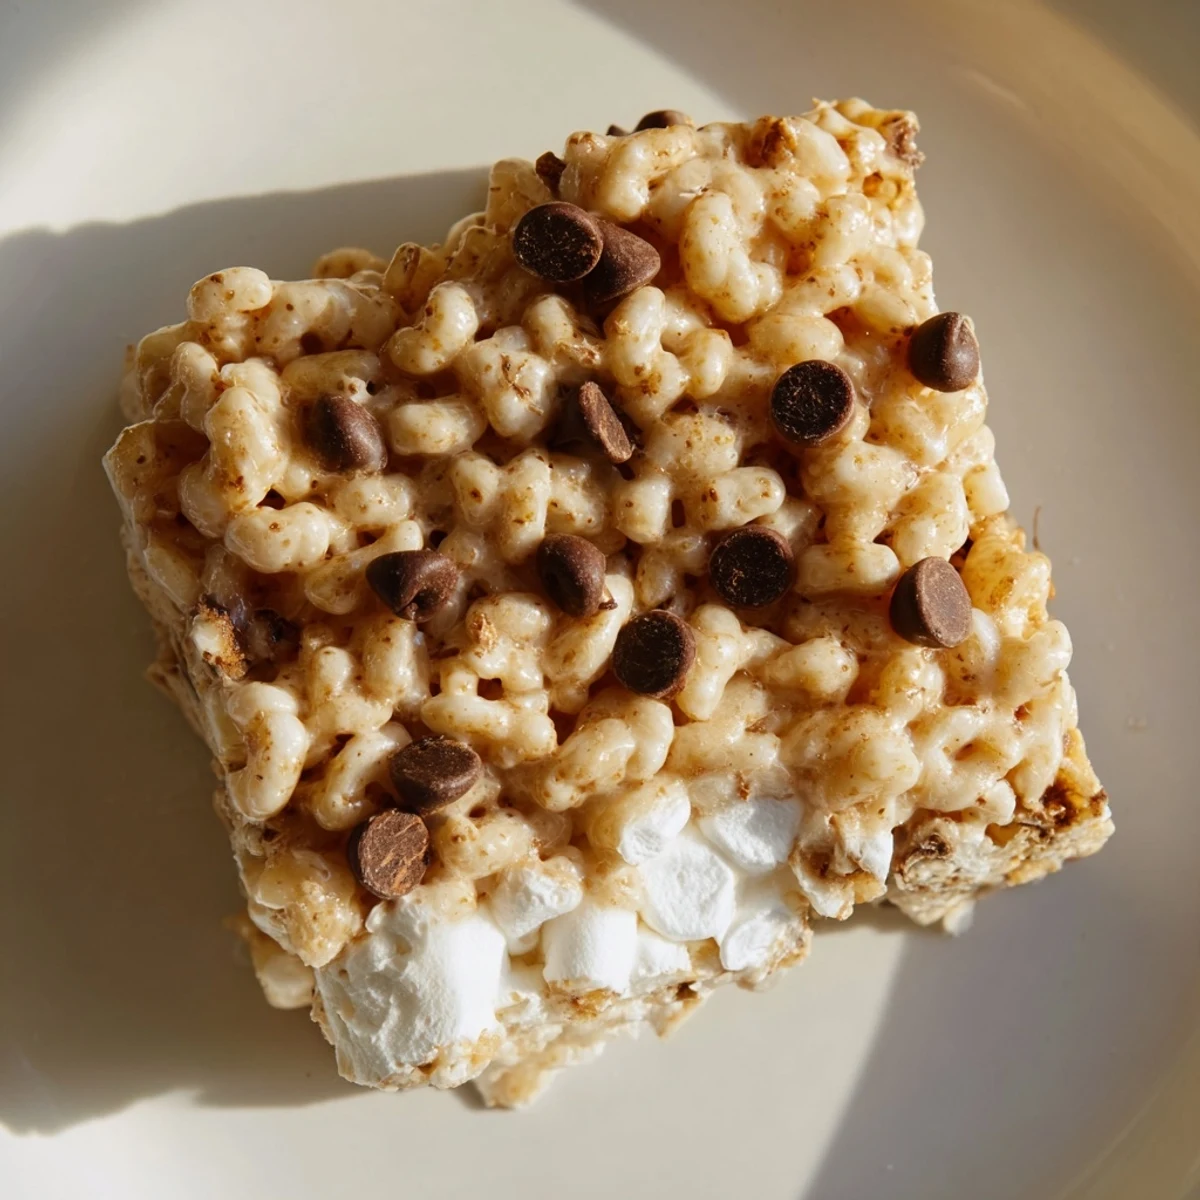
- Mini marshmallows: These melt faster and distribute more evenly than large ones; the key is catching them while they're still smooth, not overcooked.
- Unsalted butter: Three tablespoons is the sweet spot for binding without making things greasy or overwhelming the other flavors.
- Mini chocolate chips: Optional but worth it—they add pockets of richness that make each bar feel special.
- Vanilla extract: Just a whisper of it brightens the marshmallow flavor without making it taste like dessert perfume.
- Salt: A tiny pinch is a secret weapon that balances the sweetness and makes people wonder what you did differently.
Instructions
- Prepare your pan:
- Line a 9x13-inch baking pan with parchment paper or give it a light coating of nonstick spray—this step takes 30 seconds and saves you from spending 10 minutes scraping dried marshmallow off the edges later.
- Melt the butter:
- In a large saucepan over low heat, let the butter turn golden and fragrant, about 1 minute. Low heat is crucial here; you want a gentle melt, not a sizzle.
- Add the marshmallows:
- Pour in your mini marshmallows and stir continuously until they transform into a smooth, glossy mixture, roughly 2 to 3 minutes. Watch the transformation—it's meditative.
- Season the mixture:
- Remove from heat and fold in vanilla extract and a tiny pinch of salt if you're using them. The moment you remove from heat is crucial because marshmallows can overcook and seize up if you're not careful.
- Combine with cereal:
- Add the crispy rice cereal and fold gently until every piece is coated in that golden marshmallow mixture. Work quickly but carefully—you want even distribution without crushing the cereal into dust.
- Transfer and press:
- Quickly transfer the mixture to your prepared pan and press it down evenly using a buttered spatula or the back of a piece of wax paper. The speed here prevents the mixture from setting up before you get it spread.
- Add toppings if desired:
- If you're using chocolate chips, sprinkle them over the top now and press gently so they stick while the mixture is still warm.
- Cool completely:
- Let the pan sit at room temperature for about 30 minutes until it firms up enough to cut without collapsing into a gooey mess.
- Cut and serve:
- Once cool, cut into 16 bars with a sharp knife, wiping the blade between cuts for cleaner edges.
 Save
Save There's something about serving these bars that makes any ordinary moment feel celebratory. Whether it's a weekday afternoon snack or part of a bigger spread, they have this way of bringing people together without any fuss.
Customization Ideas
The beauty of this recipe is how forgiving it is. Swap in white chocolate chips for a different flavor, toss in chopped nuts or dried fruit during the mixing step, or drizzle melted chocolate over the top once they've cooled. I've done crushed candy canes for December treats and even added a touch of peppermint extract—each version felt brand new.
Storage and Keeping
Store these in an airtight container at room temperature for up to 5 days, or layer them with parchment paper in a freezer-safe container for up to a month. They thaw quickly and taste just as good as freshly made, though I'll admit they rarely last that long in my house.
Why This Works
The magic is in the simplicity—just four ingredients and a few minutes create something that tastes homemade and thoughtful. The textural contrast between the cereal's crunch and the marshmallow's chew is what keeps people coming back, and the buttery richness ties everything together perfectly.
- The low-heat melting prevents scorching and ensures a smooth, glossy mixture.
- Mini marshmallows distribute more evenly and melt faster than regular size.
- Pressing firmly while still warm helps the bars hold together when cut.
 Save
Save These bars remind me that the best recipes don't need to be complicated to be loved. Make them, share them, watch people's faces light up.
Your Recipe Questions Answered
- → What ingredients create the chewy and crunchy texture?
-
Crispy rice cereal provides crunch, while melted marshmallows bind the mixture, adding chewiness.
- → Can I add flavors to enhance the bars?
-
Yes, adding vanilla extract and mini chocolate chips can enrich flavor and provide a sweet contrast.
- → How do I ensure bars hold together firmly?
-
Letting the mixture cool fully at room temperature or refrigerating before cutting helps maintain shape.
- → Are there options for dietary preferences?
-
Swapping regular marshmallows for vegan varieties or including nuts and dried fruits offers flexible choices.
- → What tools are needed for preparation?
-
A large saucepan for melting, a spatula for folding, and a lined baking pan for setting the bars are essential.