 Save
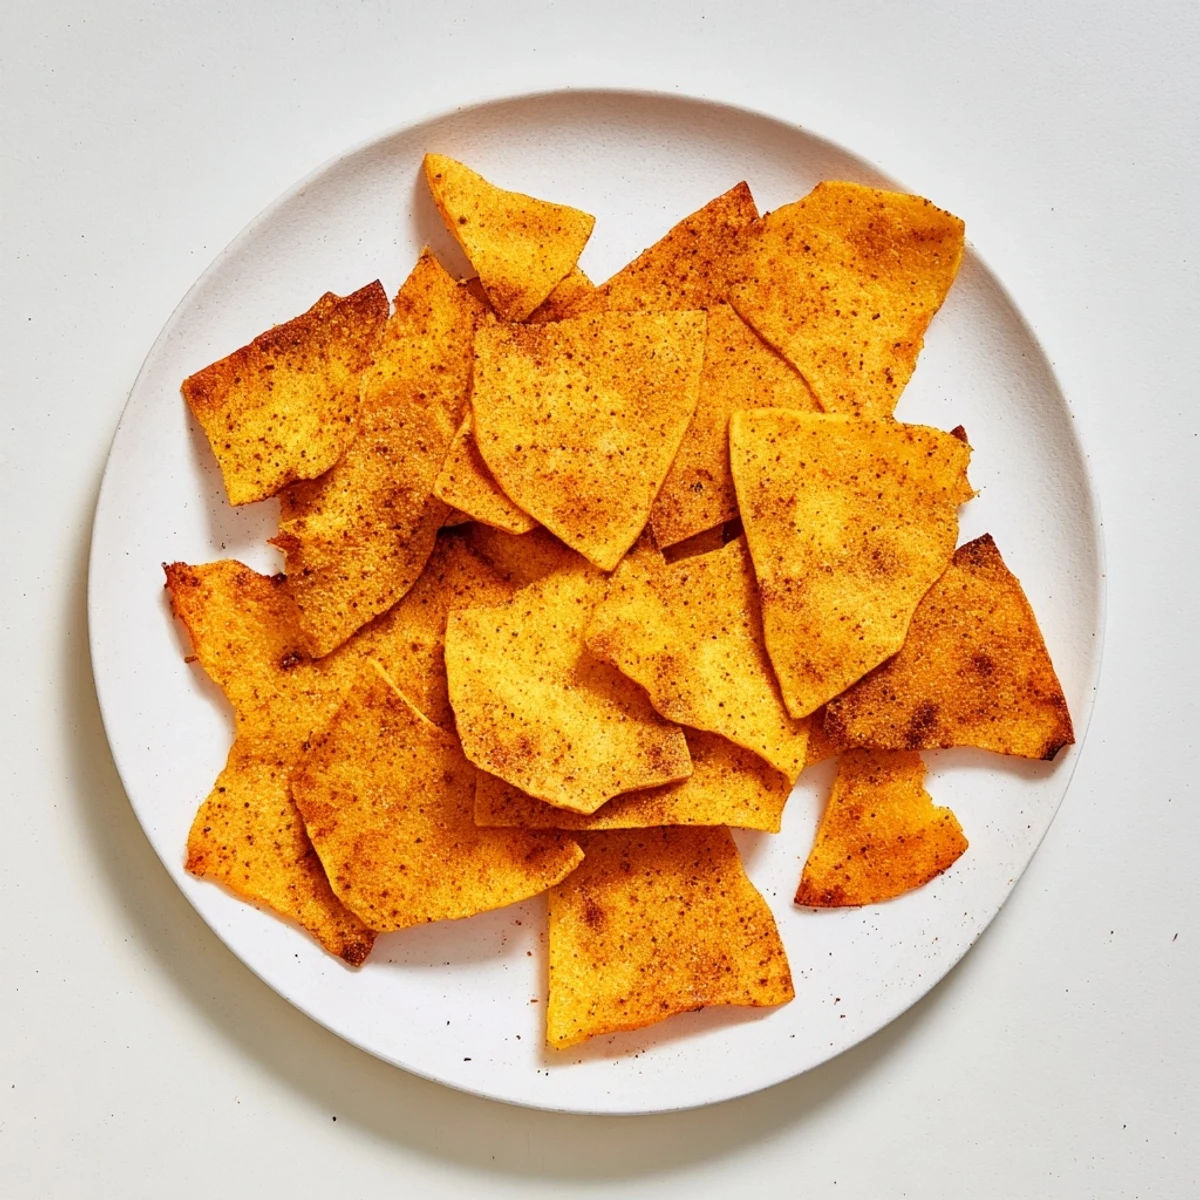
Save Create irresistibly crispy chickpea chips by combining chickpea flour with smoked paprika, garlic powder, and cumin. The simple batter spreads thin on a baking sheet and bakes until golden brown and satisfyingly crunchy. These naturally gluten-free chips offer a nutritious alternative to store-bought varieties, packed with plant-based protein and fiber. Perfect for pairing with hummus, guacamole, or enjoying on their own as a wholesome snack any time of day.
The afternoon my oven broke was the afternoon I discovered chickpea chips, out of pure stubbornness and a craving for something crunchy with my tea.
My friend Lena brought over a jar of homemade salsa one rainy Tuesday and we stood in the kitchen eating the entire first batch straight off the baking sheet, burning our fingers and not caring one bit.
Ingredients
- Chickpea flour (1 cup): The star of everything here, so grab a fresh bag because stale chickpea flour tastes flat and there is no hiding it.
- Salt (1/2 tsp): Just enough to wake up the other spices without overpowering the natural nuttiness of the flour.
- Smoked paprika (1/2 tsp): This gives the chips a campfire warmth that makes people ask what your secret ingredient is.
- Garlic powder (1/4 tsp): A quiet background note that ties everything together.
- Ground cumin (1/4 tsp): Adds an earthy depth that pairs beautifully with the chickpea base.
- Black pepper (1/4 tsp): A gentle heat that lingers at the finish.
- Water (1/2 cup): Brings the batter together, and the temperature does not matter much here.
- Olive oil (2 tbsp plus extra for brushing): Use the good stuff because you will taste it, and that final brush on top creates the crispiest edges.
Instructions
- Get the oven ready:
- Heat your oven to 180 degrees Celsius (350 degrees Fahrenheit) and line a baking sheet with parchment paper so nothing sticks later.
- Mix the dry team:
- Toss chickpea flour, salt, smoked paprika, garlic powder, cumin, and black pepper into a bowl and whisk them together until the color is even throughout.
- Bring in the wet ingredients:
- Pour in the water and olive oil, then stir with purpose until you have a smooth, thick batter with no dry pockets hiding in the corners.
- Spread it thin:
- Pour the batter onto your prepared sheet and use a spatula to spread it into an even layer about 2 to 3 millimeters thick, because thickness is everything here.
- Brush with oil:
- Lightly brush the top with a little more olive oil, which helps that surface crisp up like a dream.
- Bake until golden:
- Slide the sheet into the oven for 20 to 25 minutes, watching for deep golden edges and a firm center that snaps when you press it gently.
- Cool and break apart:
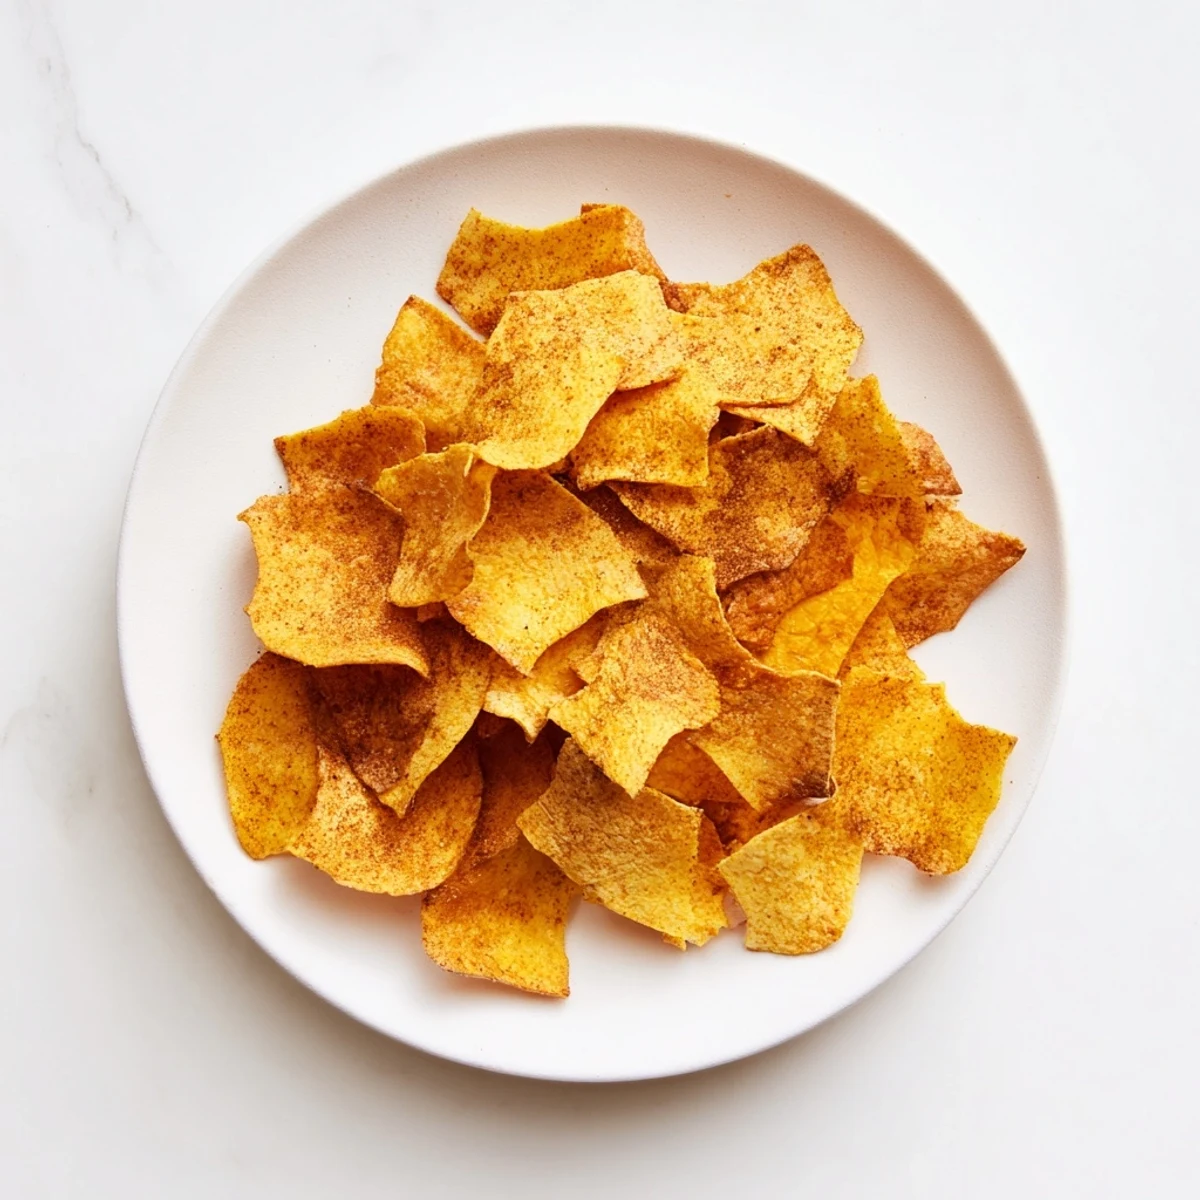
- Let it rest for a few minutes out of the oven, then snap it into rustic chip sized pieces or cut neat squares if you are feeling precise.
- Serve and enjoy:
- Pile them into a bowl and serve with hummus, guacamole, salsa, or absolutely nothing because they are that good on their own.
 Save
Save I packed these in a lunchbox for a hike last spring and my partner stopped halfway up the trail just to tell me they were the best snack I had ever made.
Storing Your Leftover Chips
An airtight container at room temperature keeps them crunchy for up to three days, though honestly they rarely last that long in my kitchen.
Flavor Variations Worth Trying
Stir in a teaspoon of dried rosemary or thyme when you mix the dry ingredients for an herby twist that feels fancy with zero extra effort.
Not all chickpea flour is created equal, and the freshness of your bag makes a noticeable difference in flavor and texture.
- Taste a tiny pinch of the raw flour before mixing, and if it tastes bitter or stale, start with a new bag.
- If you are serving anyone with legume allergies, this snack is off the table despite being gluten free.
- Always double check packaging for cross contamination warnings if allergies are a concern.
 Save
Save Keep this recipe in your back pocket for those days when you want something crunchy and satisfying without reaching for a bag from the store.
Your Recipe Questions Answered
- → Are chickpea chips actually gluten-free?
-
Yes, these chickpea chips are naturally gluten-free since they're made entirely from chickpea flour (also called gram flour) and other gluten-free ingredients. However, always check your chickpea flour packaging to ensure there's no cross-contamination during processing if you have severe gluten sensitivity.
- → How do I store leftover crispy chips?
-
Store your cooled chickpea chips in an airtight container at room temperature for up to 3 days. If they lose some crunch, simply pop them back in the oven at 180°C for 5-10 minutes to refresh their crispy texture.
- → Can I make these without olive oil?
-
You can substitute olive oil with other oils like avocado oil or melted coconut oil. For oil-free version, replace with additional water, though the chips may be slightly less crispy. Brushing the top with oil helps achieve that perfect golden crunch.
- → What spices work best in chickpea chips?
-
The combination of smoked paprika, garlic powder, and cumin creates a classic savory profile. You can customize with herbs like rosemary, thyme, or Italian seasoning. For a spicy kick, add cayenne pepper or red pepper flakes. Nutritional yeast also works wonderfully for a cheesy flavor.
- → Why did my chips turn out soft instead of crispy?
-
Soft chips usually mean the batter was spread too thick or they didn't bake long enough. Aim for 2-3 mm thickness when spreading. Ensure your oven is properly preheated to 180°C and bake until edges are golden. Flipping halfway through helps both sides crisp up evenly.