 Save
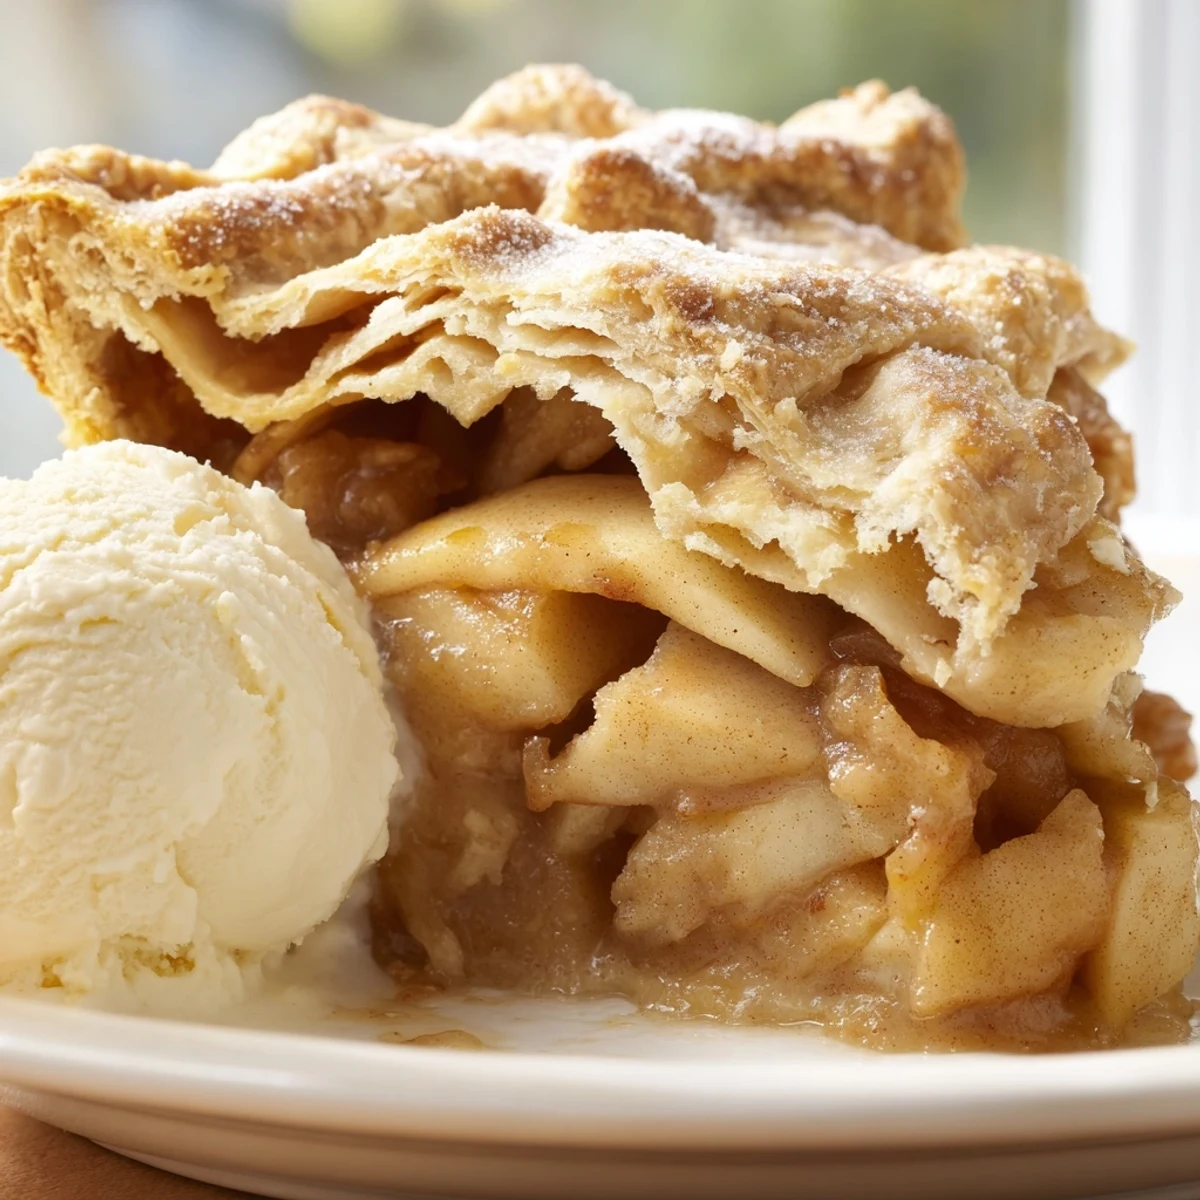
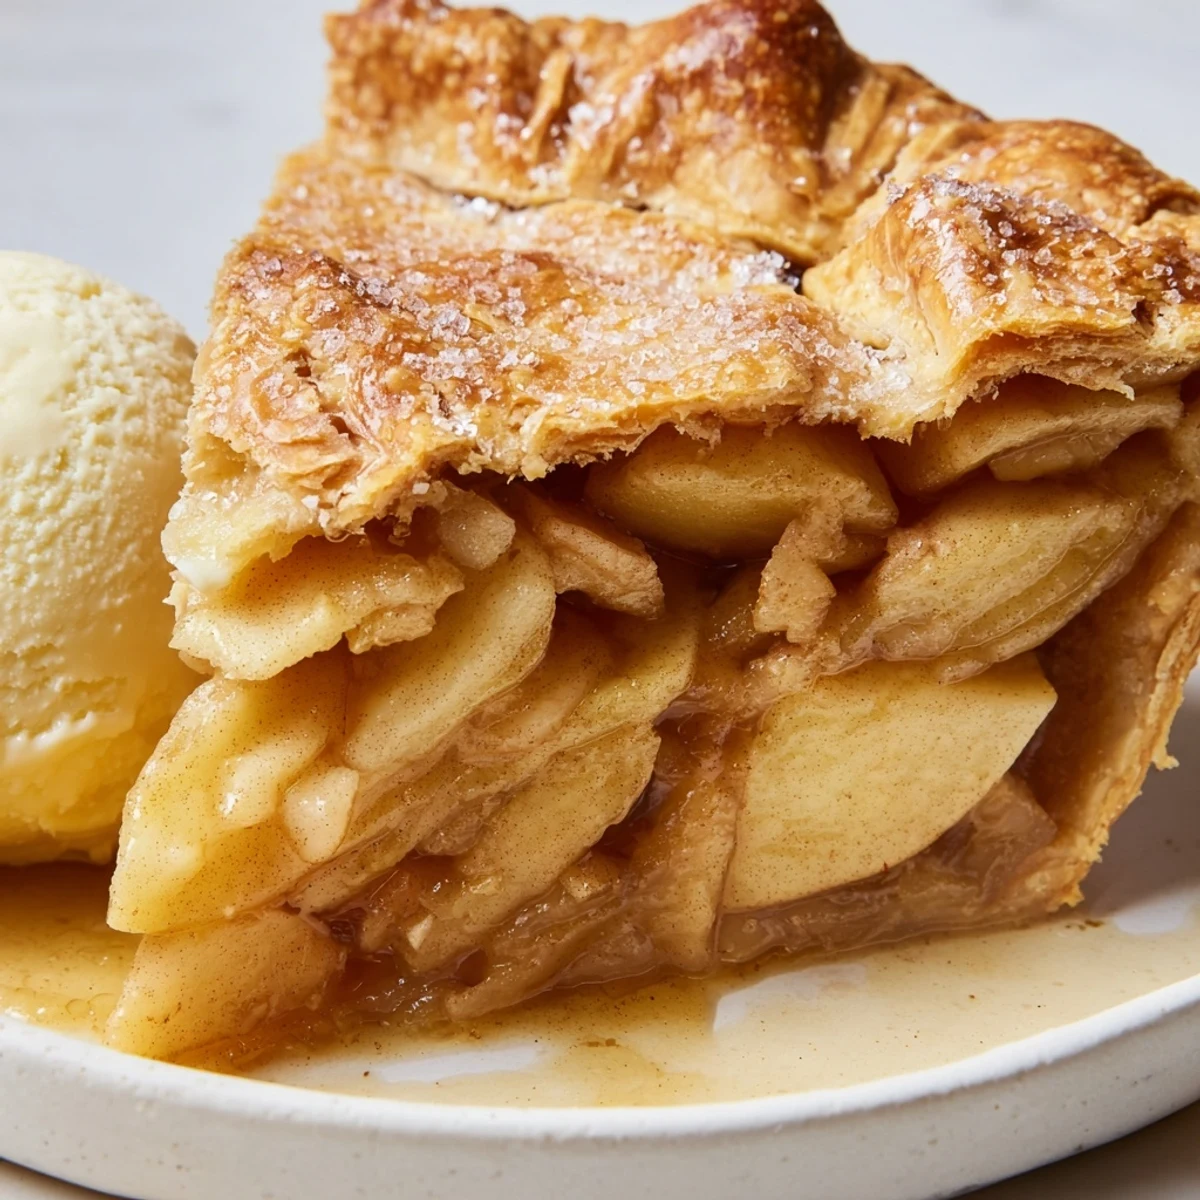
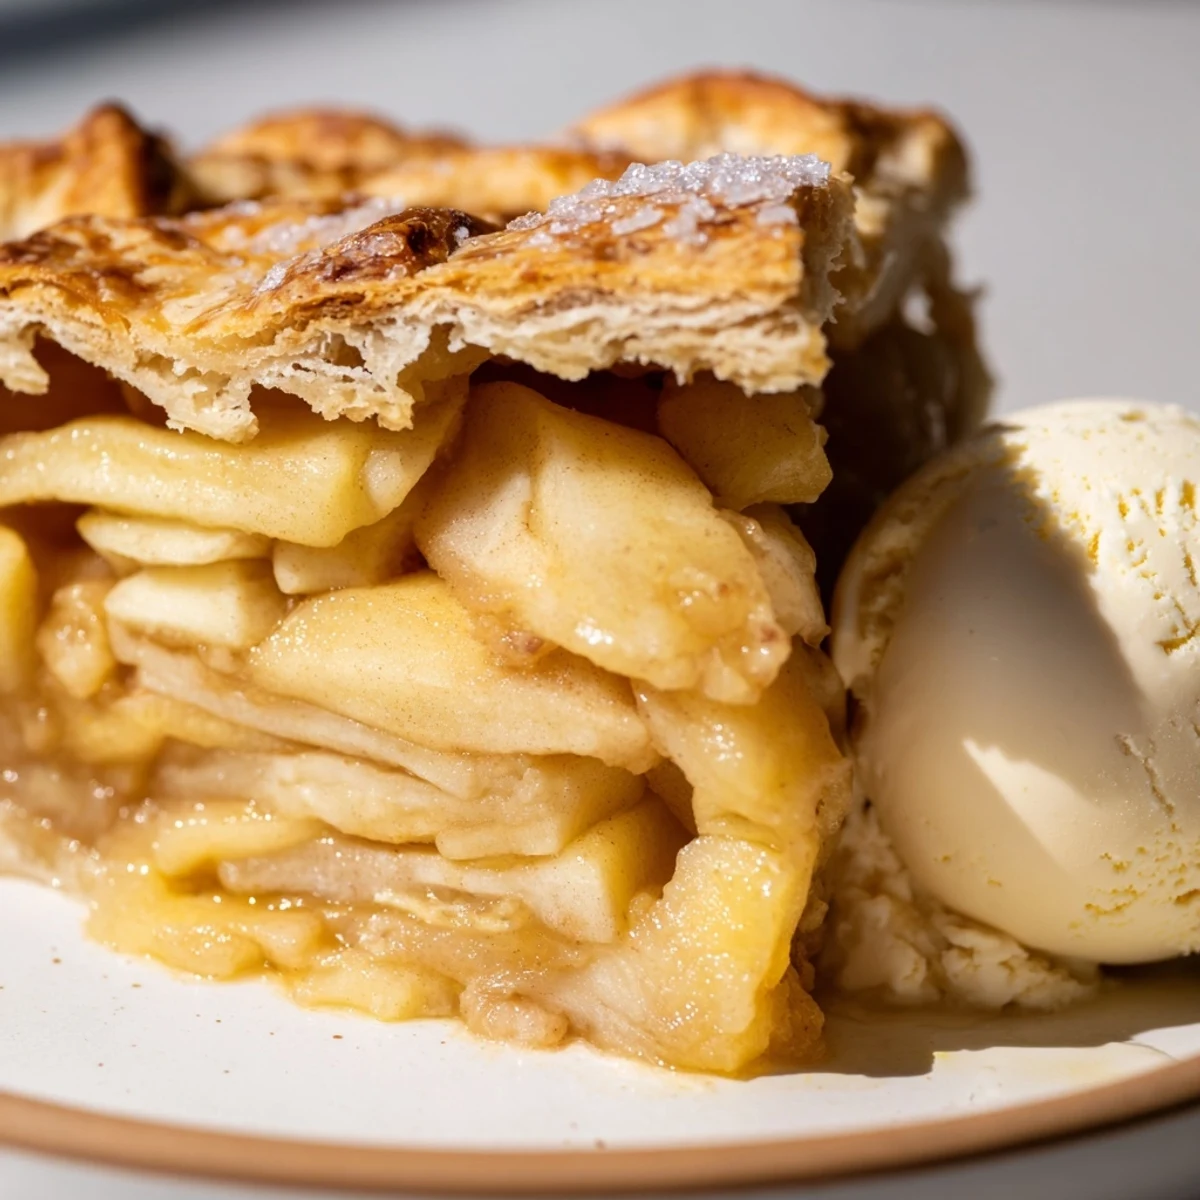
Save This beloved American dessert combines tart Granny Smith apples with warming spices like cinnamon, nutmeg, and cloves, all nestled inside a homemade buttery crust. The filling strikes the perfect balance between sweet and tangy, while the flaky pastry provides a satisfying crunch. Best served warm from the oven, allowing the spiced apple juices to caramelize slightly as they bubble through the steam vents. The golden crust gets its beautiful shine from an egg wash and optional coarse sugar topping.
The first time I made apple pie from scratch, I underestimated how much butter would end up on my counter, my apron, somehow even in my hair. My grandmother stood by watching, laughing as I frantically tried to keep the dough cold while sweating through a ninety-degree kitchen. That pie wasnt pretty, but the smell of cinnamon and apples filled every corner of the house, and when we finally cut into it three hours later, the bottom crust was somehow both burnt and underdone. Ive made dozens since then, learning that patience and cold ingredients matter more than perfection.
Last Thanksgiving, my youngest cousin declared himself the official pie tester after sampling three different versions I made that week. We sat on the back steps, steam rising from our plates, while he explained in detail why this particular apple combination was superior to all others. Sometimes the best reviews come from the most honest critics.
Ingredients
- All-purpose flour: The structure builder for your crust, protein content matters for flakiness
- Unsalted butter: Keep it ice cold, cutting into cubes helps it distribute evenly through the flour
- Salt: Enhances flavor in both crust and filling, dont skip it
- Granulated sugar: Sweetens the crust just enough to complement the filling
- Ice water: The magic that brings dough together, add gradually
- Tart apples: Granny Smiths hold their shape and provide the perfect acid to balance the sugar
- Granulated and brown sugar: The combination gives depth and caramel notes
- All-purpose flour in filling: Thickens the juices just enough so you dont end up with soup in your pie
- Lemon juice: Prevents apples from browning and adds brightness
- Ground cinnamon, nutmeg, and cloves: The warming spices that say home
- Butter pieces: Dotting the top creates rich pockets of flavor
- Egg and milk wash: Gives you that golden bakery-style finish
- Coarse sugar: Optional but adds professional sparkle and crunch
Instructions
- Prepare the Pie Crust:
- Whisk flour with salt and sugar, then cut in cold butter until you see pea-sized pieces. Sprinkle ice water gradually, mixing until the dough just holds together when pinched. Form into two discs, wrap tightly, and let rest in the refrigerator for at least one hour to relax the gluten.
- Prepare the Apple Filling:
- Toss your sliced apples with both sugars, flour, lemon juice, and all those warm spices until every piece is coated. Let them sit while you roll out the dough, which helps draw out some of their natural juices.
- Roll Out the Dough:
- On a well-floured surface, roll one disc into a 12-inch circle, rotating frequently to prevent sticking. Carefully transfer to your 9-inch pie dish, letting the excess hang over the edges for now.
- Fill the Pie:
- Pile those spiced apples into the bottom crust, mounding them slightly higher in the center since they will cook down. Scatter the small butter pieces across the top.
- Top the Pie:
- Roll the second dough disc and place it over the apples. Trim the overhang, then fold and crimp the edges together, creating a tight seal. Cut decorative slits in the top crust to let steam escape during baking.
- Apply Egg Wash:
- Beat the egg with milk until combined, then brush it over the entire top crust. Sprinkle with coarse sugar if you want that extra sparkle and crunch.
- Bake:
- Start at 425°F for 20 minutes to set the crust, then reduce to 375°F for another 35 to 40 minutes. Youre looking for deep golden brown and bubbles visible through those steam vents.
- Cool Completely:
- Let the pie rest on a wire rack for at least two hours before slicing. This step feels impossible but gives the filling time to set so you get clean, beautiful slices.
 Save
Save My neighbor started leaving her empty pie plates on my porch after Thanksgiving, a silent request that became our annual tradition. Now I make two every year, one for us and one for her, and we exchange them across the fence like contraband.
Making Ahead
The dough can be made up to three days in advance and kept wrapped in the refrigerator, or frozen for up to three months if you want to get a head start on holiday baking.
Storage Suggestions
Leftover pie keeps at room temperature for two days, covered loosely with foil, or in the refrigerator for up to five days if you prefer it cold.
Serving Ideas
A slice of warm apple pie transforms into something extraordinary with a scoop of vanilla bean ice cream melting into the crevices.
- Try a sharp cheddar cheese alongside for a classic savory-sweet contrast
- A drizzle of salted caramel sauce takes it over the top
- Whipped cream spiked with a little bourbon or calvados
 Save
Save Theres something deeply satisfying about pulling a golden apple pie from the oven, the house smelling like cinnamon and butter, knowing youve created something that will gather people around the table.
Your Recipe Questions Answered
- → What type of apples work best?
-
Granny Smith apples are ideal because their tartness balances the sugar and they hold their shape during baking. Other good options include Honeycrisp, Braeburn, or a mix of varieties for complex flavor.
- → Why does the dough need to chill?
-
Chilling relaxes the gluten and firms up the butter, which prevents shrinking during baking and ensures those desirable flaky layers. At least one hour in the refrigerator gives optimal results.
- → Can I make this ahead of time?
-
The dough can be prepared up to two days in advance and stored wrapped in the refrigerator. You can also assemble the entire pie, freeze it unbaked, and bake straight from the freezer—just add about 15 minutes to the baking time.
- → How do I prevent a soggy bottom crust?
-
Baking at a higher initial temperature (425°F) helps set the crust quickly. You can also brush the bottom crust with egg white before adding the filling to create a moisture barrier. Ensure the filling cools slightly before assembling.
- → What's the purpose of the egg wash?
-
The egg wash creates a golden, glossy finish on the crust and helps the coarse sugar adhere. It's purely aesthetic but makes for a beautiful presentation that hints at the flaky texture beneath.
- → Why is cooling time important?
-
Allowing the pie to cool for at least two hours lets the filling set properly. If you cut too soon, the juices will run and the slices won't hold their shape. The filling continues to thicken as it cools.