 Save
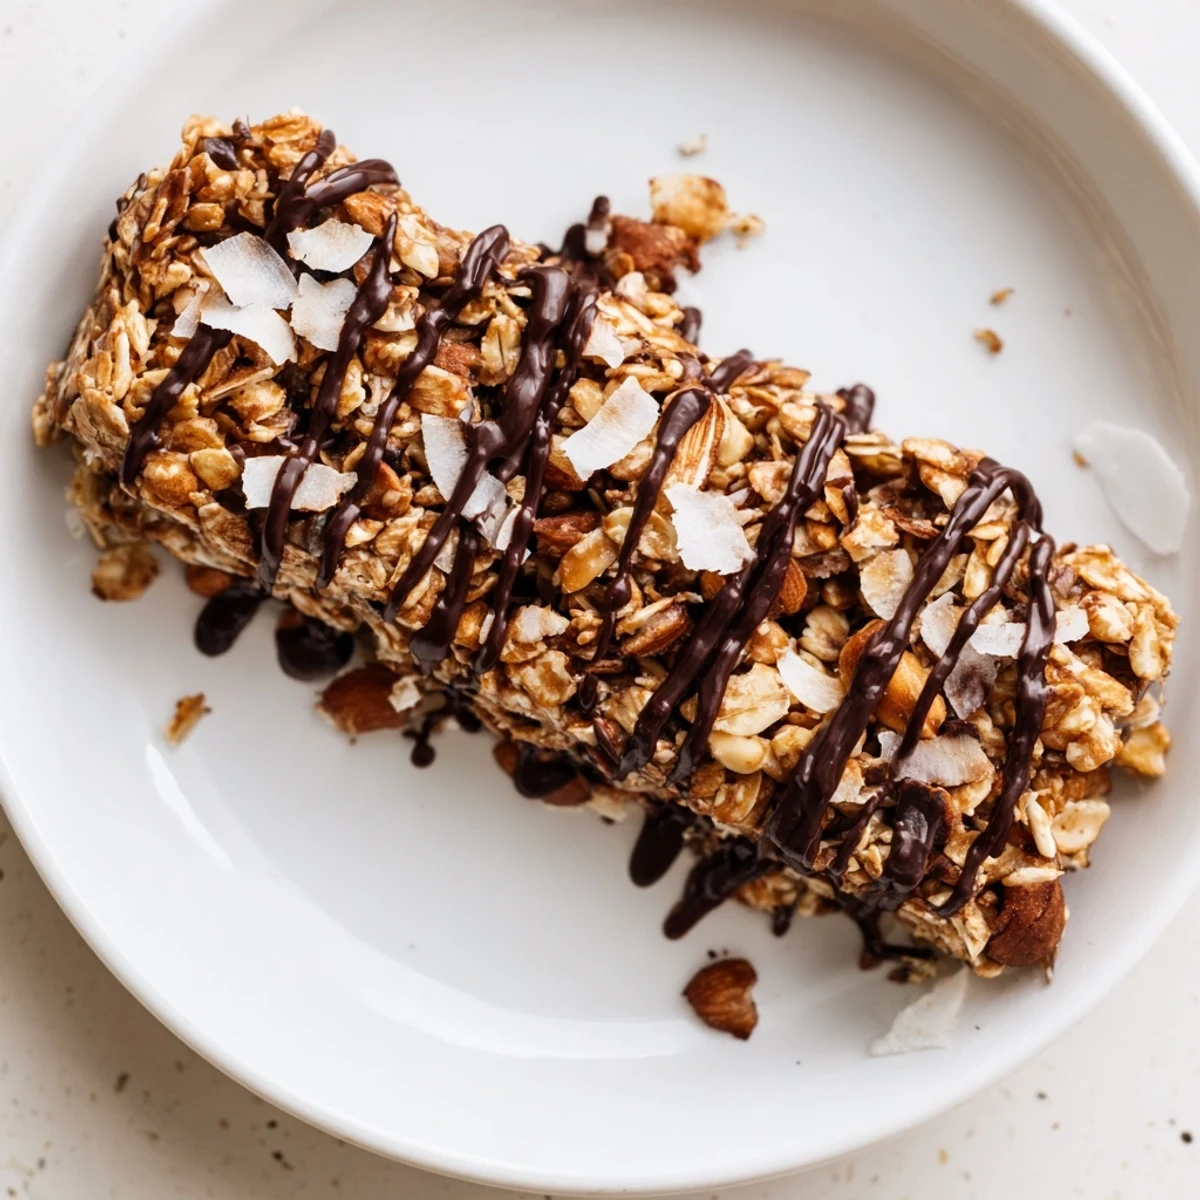
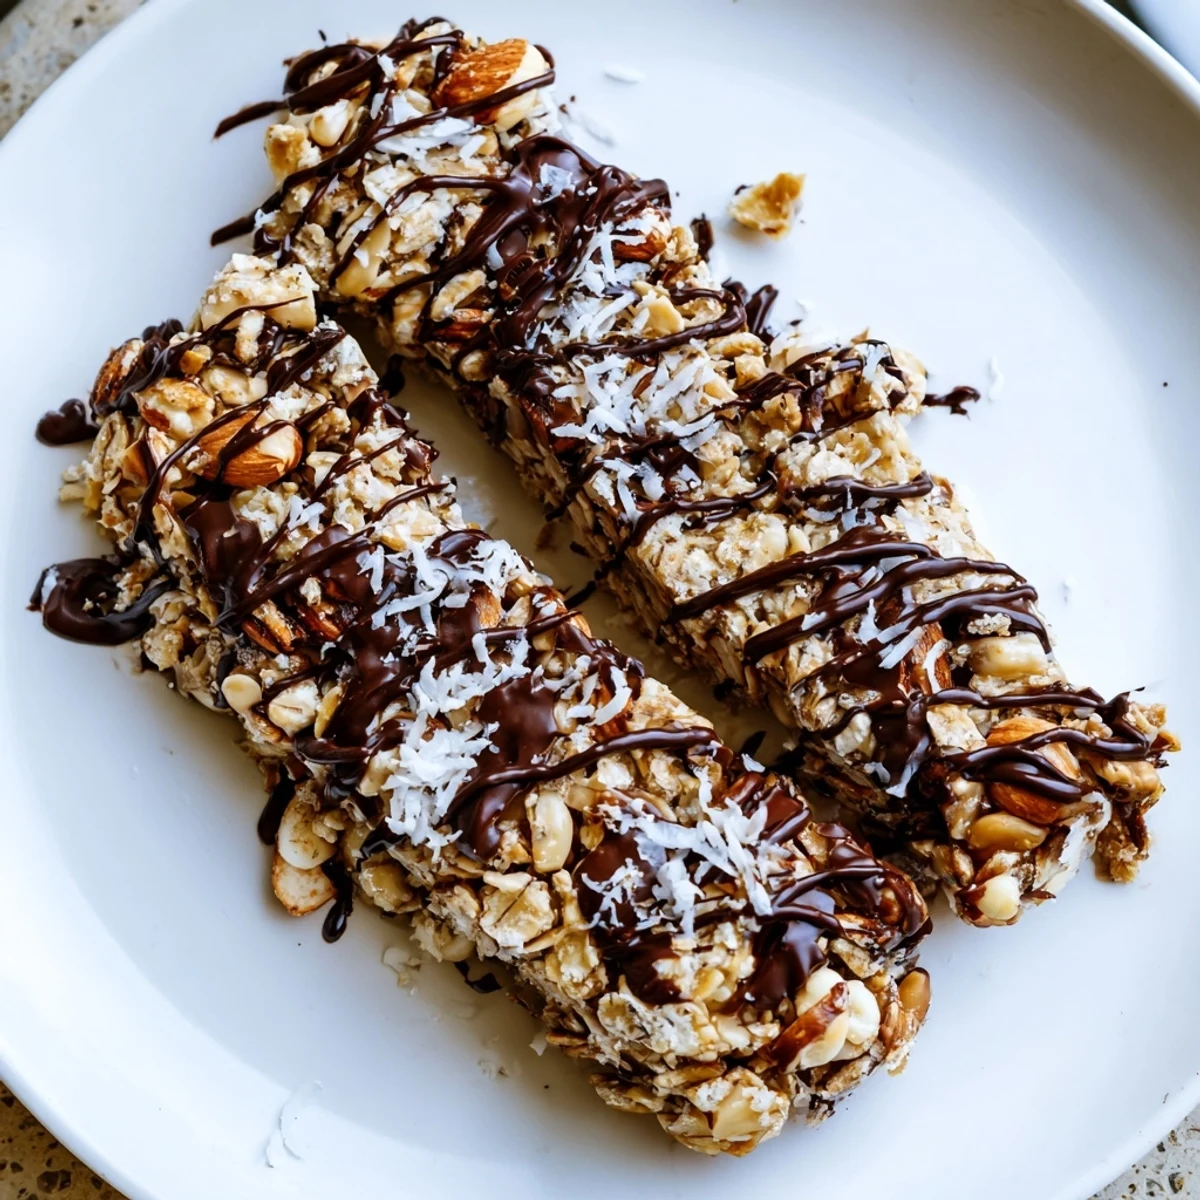
Save These bars combine rolled oats, chopped almonds, walnuts, and shredded coconut with melted honey, butter, and peanut butter. Dark chocolate chips add a rich flavor both inside and drizzled on top. After mixing and pressing into a pan, they chill for an hour to firm up. Perfect for snack time or whenever a sweet, energizing bite is needed, they offer a balance of textures and wholesome ingredients. Optional variations include seed swaps for nut allergies and dried fruit additions.
I discovered these bars on a Tuesday afternoon when I was supposed to be meal prepping but honestly just wanted something sweet. My friend Sarah had texted me a photo of hers stacked in a container, and I couldn't resist trying to make them myself. What started as a quick snack experiment turned into something I now make almost monthly, tucking them into lunch boxes and keeping a hidden stash in the back of the fridge.
My coworker Marcus bit into one at our office potluck and literally closed his eyes for a second. He asked if I'd bought them from some fancy bakery, which honestly made my week. Now whenever I bring them in, people know and they disappear before I even get back to my desk.
Ingredients
- Rolled oats: These form the chewy base and keep everything bound together without any weird binders.
- Almonds and walnuts: Toast them lightly before chopping if you want deeper flavor, though raw works just fine.
- Unsweetened shredded coconut: Use the finely shredded kind so it blends in rather than creating little chewy bits you might not want.
- Honey or maple syrup: I prefer honey because it creates a stickier dough that holds together better, but maple syrup adds a subtle earthiness.
- Unsalted butter and creamy peanut butter: These melt together to create the moisture that makes these bars chewy instead of dry.
- Dark chocolate: The 60-70% range is the sweet spot, dark enough to taste sophisticated but not so intense it overwhelms the oats and nuts.
Instructions
- Set up your pan:
- Line an 8x8-inch pan with parchment paper, making sure it overhangs on two sides so you can lift the whole thing out later. This is non-negotiable if you want neat bars instead of crumbles.
- Mix your dry base:
- Combine the oats, chopped nuts, coconut, and salt in a large bowl. The salt is subtle but it makes the chocolate taste richer, so don't skip it even if you use salted nuts.
- Melt and blend wet ingredients:
- In a small saucepan over medium heat, stir the honey, butter, and peanut butter until they're completely smooth and glossy. Take it off the heat and add vanilla, then give it a few more stirs.
- Bring it together:
- Pour the warm wet mixture over the dry ingredients and mix until everything is evenly coated and the oats start clumping together. You're aiming for a texture that holds together when you squeeze it.
- Add half the chocolate:
- Fold in half of your chocolate chips or chopped pieces so they're distributed throughout the base. This gives you pockets of chocolate throughout each bite.
- Press and set:
- Transfer the mixture to your prepared pan and press it down firmly and evenly with the back of a spatula or your hands. The firmer you press, the more cohesive your bars will be.
- Top with melted chocolate:
- Melt the remaining chocolate in the microwave in 30-second bursts, stirring between each, or use a double boiler if you prefer gentler heat. Drizzle it across the top and let it set in the fridge.
- Chill and slice:
- Refrigerate for at least an hour until everything is firm and the chocolate is fully set. Use that parchment overhang to lift the whole thing out, then slice cleanly with a sharp knife, wiping the blade between cuts for neat edges.
 Save
Save My kid once took two of these to a birthday party and came home saying everyone at the table asked for the recipe. Seeing her face light up when I told her she could take that as a compliment meant more than any feedback I've gotten.
Why These Bars Actually Stick Around
The secret is that honey and peanut butter combination. It sounds simple, but it creates this specific texture that's chewy without being sticky to your fingers, satisfying without feeling heavy. I've tried versions with just coconut oil and they weren't the same, so stick with the peanut butter if you can.
Making Them Your Own
I've tested cranberries, raisins, sunflower seeds, and even a bit of cinnamon mixed into the dry ingredients. The base is forgiving enough to handle substitutions as long as you keep the wet-to-dry ratio roughly the same. If you're nut-free, sunflower seeds work beautifully and sunflower seed butter swaps in for the peanut butter without changing the texture.
Storage and Shelf Life
These keep best in an airtight container in the refrigerator where they last about a week, though mine never make it that long. You can stack them with parchment squares between each layer so they don't stick together.
- Keep them refrigerated rather than at room temperature so the chocolate stays set and they don't get too soft.
- You can freeze them in a container for up to a month if you want to make a double batch and save some for later.
- If they ever seem too hard straight from the fridge, let them sit on the counter for five minutes and they'll be perfectly chewy again.
 Save
Save These bars are the kind of recipe that feels like you're giving people a small gift every time you share one. They're easy enough to make on a random Wednesday but impressive enough that people always assume you spent more effort than you did.
Your Recipe Questions Answered
- → How should the bars be stored?
-
Store the bars in an airtight container in the refrigerator for up to one week to maintain freshness and firmness.
- → Can nuts be substituted in this preparation?
-
Yes, for a nut-free version, replace almonds and walnuts with sunflower or pumpkin seeds and use sunflower seed butter instead of peanut butter.
- → What type of chocolate works best?
-
Dark chocolate with 60–70% cacao provides a rich flavor and complements the nuts and oats well.
- → Is chilling necessary for these bars?
-
Chilling for at least one hour helps the bars firm up and makes slicing easier.
- → Can additional flavors be added?
-
Dried cranberries or raisins can be incorporated for extra sweetness and texture variation.