 Save
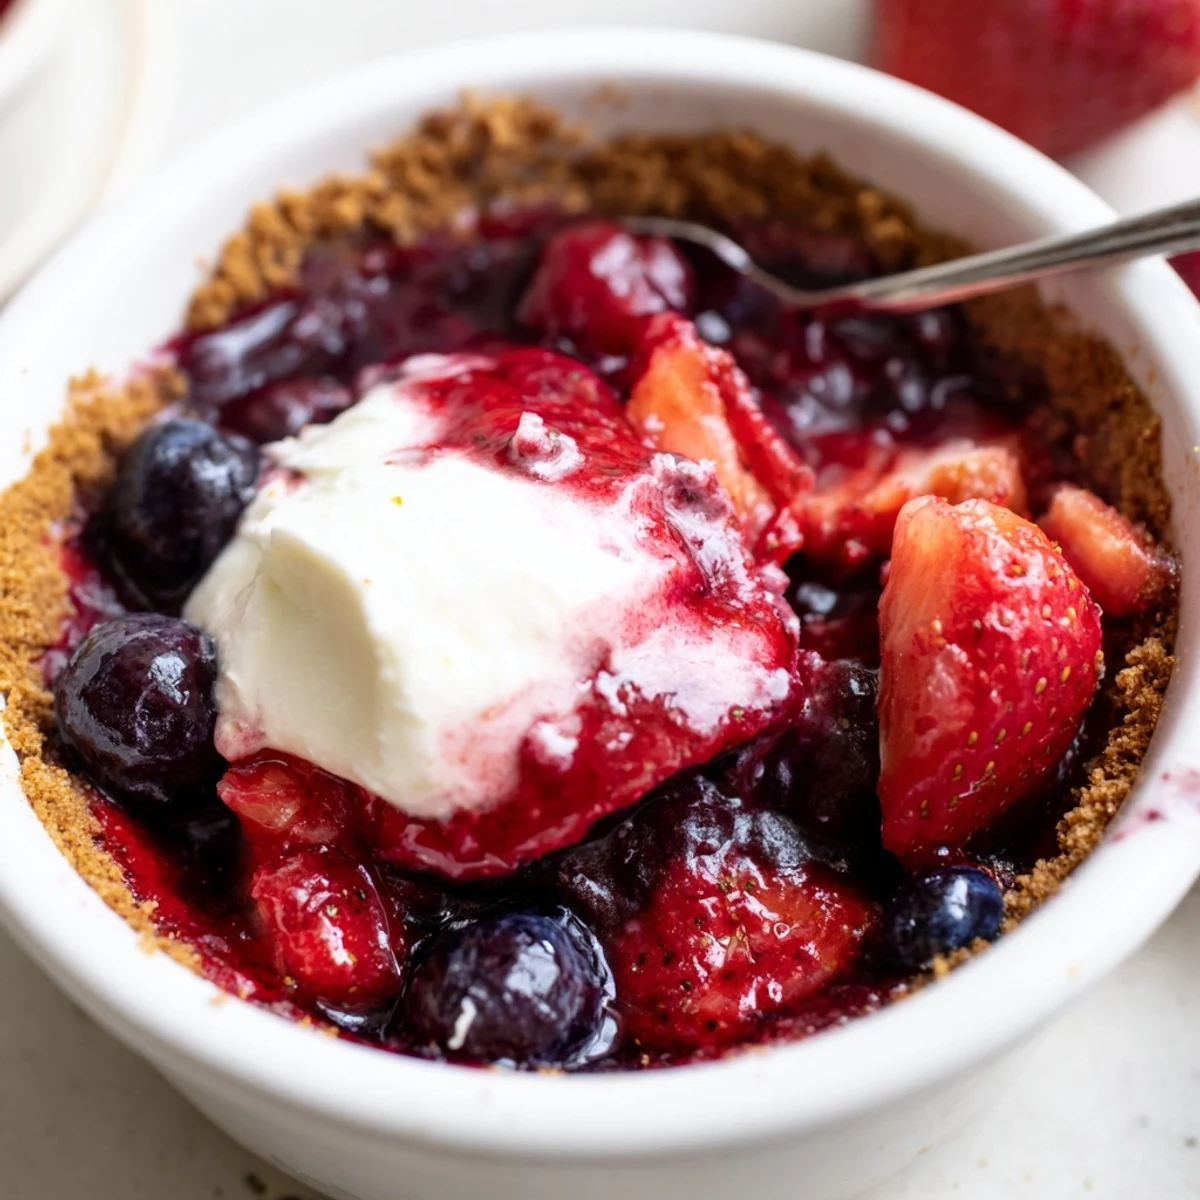
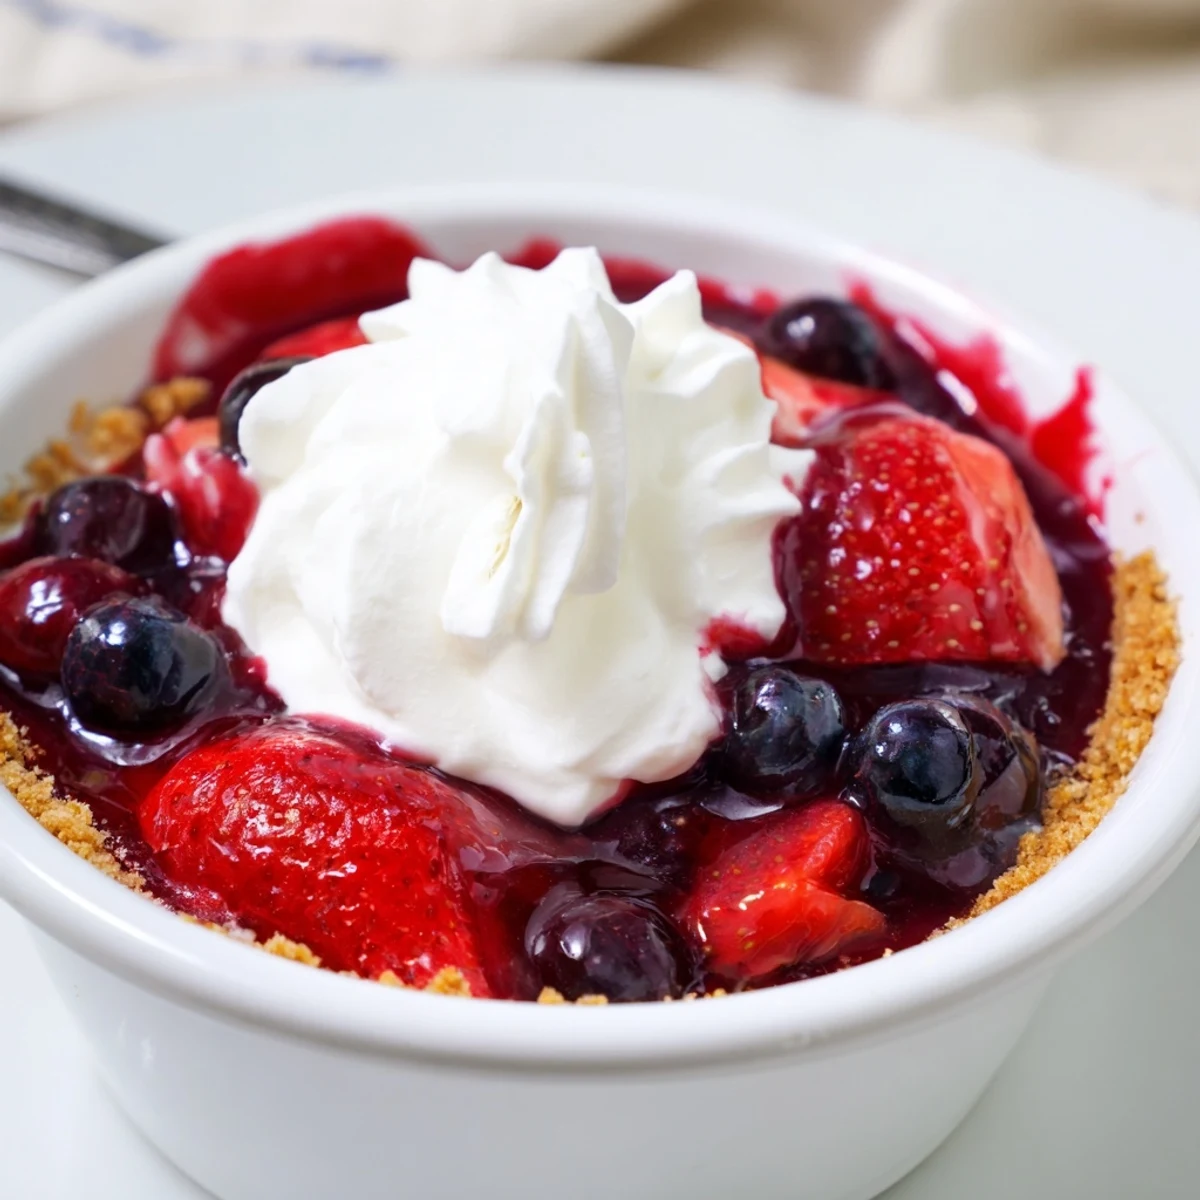
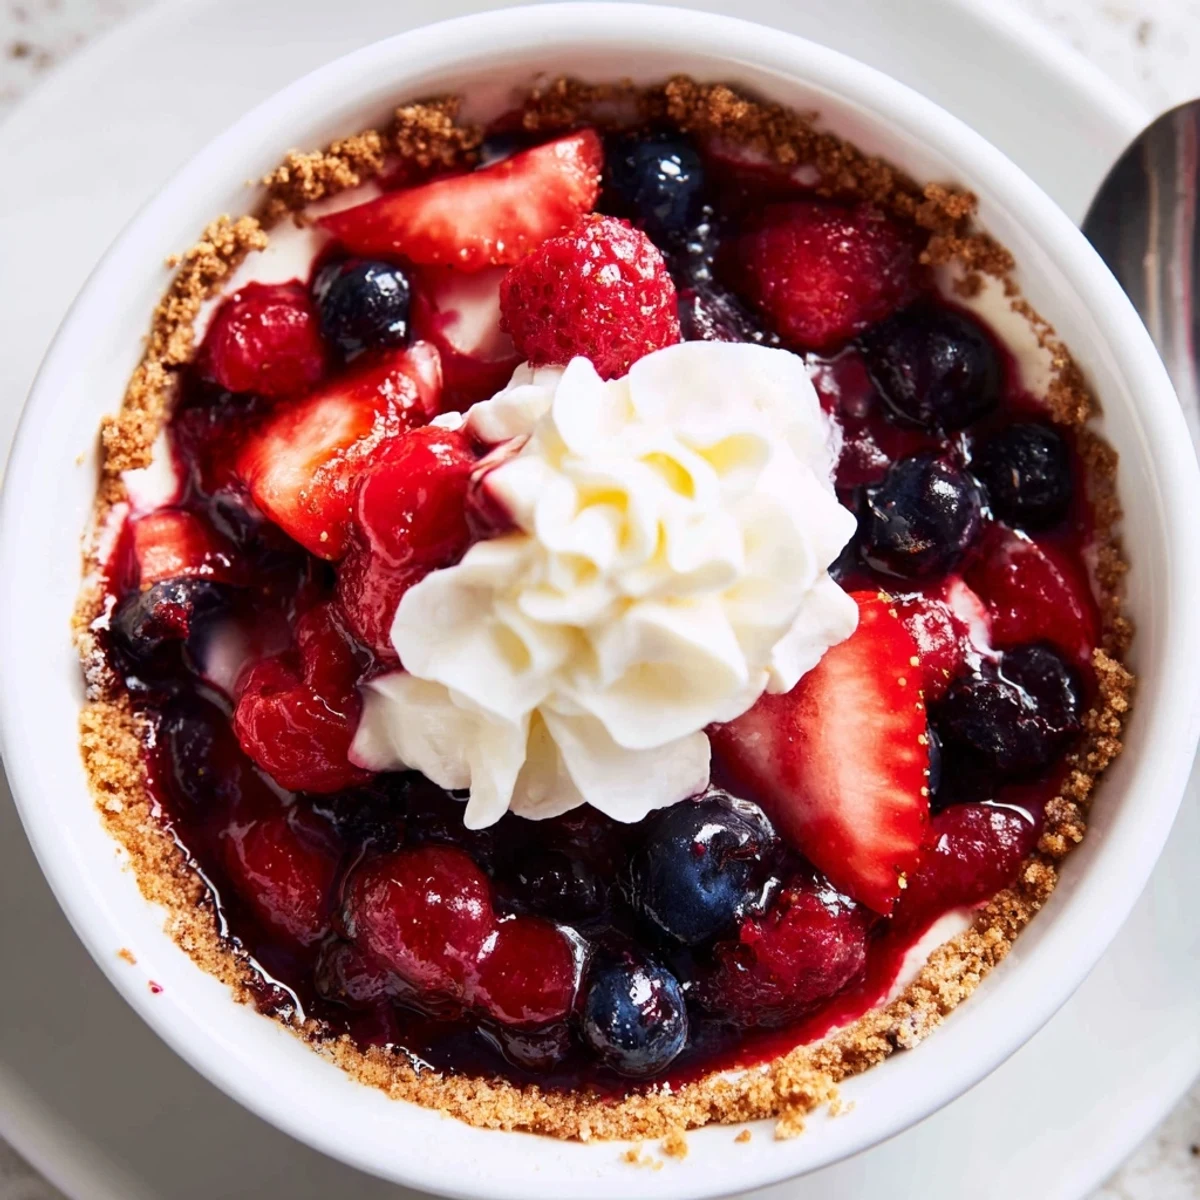
Save These individual no-bake cheesecakes combine a crunchy biscuit base with a silky, whipped cream cheese filling and a bright macerated berry topping. Press buttered crumbs into glasses, fold stiff-peaked cream into sweetened cream cheese, spoon over the base and chill at least 3 hours to set. Serves six and is ideal for make-ahead entertaining and portioned servings.
When it is sweltering outside and the idea of preheating the oven feels like pure sabotage, Berry No Bake Cheesecakes come to the rescue. I distinctly remember a midsummer kitchen session with a playlist humming and berries tumbling across the counter, no stress or heat in sight. The sheer glee of layering juicy fruit on plush creaminess with unapologetic little taste tests made the process as fun as the eating. Sometimes the easiest desserts bring the most satisfaction.
One evening, I made a batch for friends who dropped by unannounced, and the spontaneous layering turned into an impromptu cheesecake bar. There was arguing over who got more raspberries and uncontrollable laughter at the biscuit crumbs flying everywhere—not exactly picture perfect, but the memories still make me grin.
Ingredients
- Graham crackers or digestive biscuits: The crumbly foundation—pulse them fine for a smooth base or keep it chunkier for bite.
- Unsalted butter: Melt it fully and mix while warm so every crumb catches the flavor.
- Cream cheese: Let it soften to take the chill off—cold cream cheese clumps and resists creamy blending.
- Heavy cream: Whip while cold for maximum fluff; over-whipping can make it grainy.
- Powdered sugar: Sifts in seamlessly and sweetens without any grittiness.
- Vanilla extract: Brings floral warmth—a little goes a long way.
- Lemon zest (optional): Sharpens the filling with brightness; zest right over the bowl for extra oils.
- Mixed fresh berries: Choose whatever looks best at the market—imperfect berries add charm.
- Sugar: Just enough to draw out berry juices; too much will bury the fruit's freshness.
- Lemon juice: Livens up the fruit and ties the entire dessert together with a zippy finish.
Instructions
- Build the biscuit base:
- Combine crushed biscuits with melted butter in a bowl, letting your hands get in there for even moisture. Once mixed, press a buttery layer firmly into the bottom of each glass—edges don’t have to be perfect.
- Create the creamy layer:
- Beat the softened cream cheese until light and lump-free, then stir in powdered sugar, vanilla, and lemon zest if you love citrus. In a separate bowl, whip the cold heavy cream until thick and billowy; gently fold it into the cheese mixture so it stays airy.
- Mix up the berries:
- Toss the berries with sugar and a good splash of lemon juice, then let them sit—watch as the fruit turns glossy and begins to juice.
- Layer and assemble:
- Spoon or pipe the cheesecake mixture over your biscuit bases, bringing it right to the glass sides for pretty layers. Pile those glistening berries (and all their juice) on top; do not be stingy.
- Chill to perfection:
- Cover and refrigerate at least three hours or overnight—a bit of patience makes the texture pillowy and set. Serve direct from the fridge and listen for happy sighs with the first spoonful.
 Save
Save There was one afternoon when I brought these outside to the porch, and after the first spoonful, everyone stopped talking and just smiled. Somehow, sunshine, friends, and the burst of sweet-tart berries made these cheesecakes a little unforgettable.
No Oven, No Problem: Embracing the Chill
Not turning on the oven feels like a victory on hot days, and no-bake means no fear of sunken middles or accidental scorch. I like that you can prep the layers ahead and assemble right before guests arrive, keeping things low-key yet impressive.
Get Creative With Your Berries
Every season brings its berry stars—muddled blackberries in late summer or sliced strawberries in spring. Sometimes I play with toppings, adding a few mint leaves or a swirl of warm jam for color contrast and fun.
Serving, Storing, and Sweet Finale
These hold beautifully in the fridge and are perfect for prepping ahead or sneaking spoonfuls straight from the ramekin at midnight.
- If you swap fruit, don’t skip the sugar and lemon—each brings out the best in your topping.
- Layering in clear glasses makes every bite Instagram-worthy—presentation counts.
- Let the cheesecakes warm just a minute out of the fridge before serving for a silkier texture and better flavor.
 Save
Save If you come for just one spoonful, you’ll likely stay for more. Dessert can be simple and memorable, especially when you share it with good company.
Your Recipe Questions Answered
- → How do I achieve a light, airy filling?
-
Ensure the cream cheese is softened but cool, whip the heavy cream to stiff peaks separately, then gently fold it into the sweetened cream cheese to preserve air for a light texture.
- → What biscuits work best for the base?
-
Graham crackers or digestive biscuits give a buttery, crunchy base. For variation, use shortbread for richness or gluten-free biscuits if avoiding gluten.
- → How long should the cheesecakes chill to set properly?
-
Chill at least 3 hours, though overnight yields a firmer set and more melded flavors between the base, filling, and berries.
- → Can I make substitutions for dairy?
-
Use full-fat plant-based cream cheese and aquafaba or a thick coconut cream whipped to mimic texture; results may be slightly different in tang and mouthfeel.
- → How do I keep the berry topping from becoming too watery?
-
Toss berries with the sugar and lemon just before serving or macerate briefly (10–15 minutes). For extra stability, simmer a small portion with a teaspoon of cornstarch to thicken into a glaze.
- → How long can these be stored?
-
Store covered in the refrigerator for up to 3 days. For longer storage, freeze assembled without very runny toppings and thaw overnight in the fridge before serving.